SwiftUI Tutorial: Building Your First iOS App in 2021
SwiftUI has matured considerably since its introduction at WWDC 2019. With the release of SwiftUI 2.0 alongside iOS 14, Apple has made it clear that SwiftUI is the future of iOS development. If you have been considering learning SwiftUI or are starting a new iOS project in 2021, now is an excellent time to dive in.
In this tutorial, we will build a simple but functional iOS app from scratch using SwiftUI. Along the way, you will learn the core concepts that underpin every SwiftUI application: views, state management, navigation, and data flow.
Why SwiftUI in 2021
Before we write any code, let us consider why SwiftUI deserves your attention right now.
Declarative syntax means you describe what your UI should look like, and SwiftUI handles the rendering. This is a significant shift from UIKit’s imperative approach, where you manually manage view hierarchies and layout constraints.
Live previews in Xcode let you see changes instantly without rebuilding the app. This dramatically speeds up the development cycle, especially when iterating on UI designs.
Cross-platform potential is another compelling reason. SwiftUI code can target iOS, macOS, watchOS, and tvOS with minimal modifications. Write once, deploy across the Apple ecosystem.
With iOS 14 adoption growing steadily, the minimum deployment target for most new apps comfortably supports SwiftUI 2.0 features.
Prerequisites
T
o follow this tutorial, you will need:
- A Mac running macOS Big Sur (11.0) or later
- Xcode 12.4 or later (available free from the Mac App Store)
- Basic familiarity with Swift syntax
- No prior SwiftUI experience required
Setting Up the Project
O
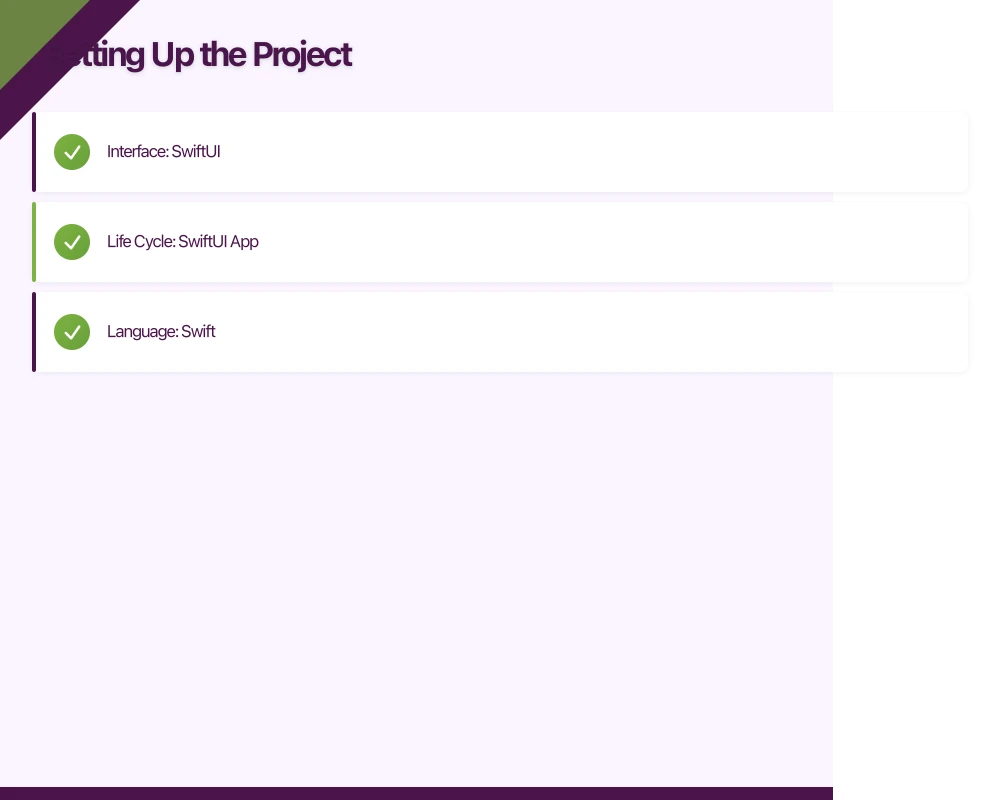 pen Xcode and select File, then New, then Project. Choose the App template under iOS. Name your project “TaskBoard” and ensure the following settings:
- Interface: SwiftUI
- Life Cycle: SwiftUI App
- Language: Swift
Click Create. Xcode generates a minimal SwiftUI project with two key files: TaskBoardApp.swift (the entry point) and ContentView.swift (your first view).
Understanding SwiftUI Views
E
very visual element in SwiftUI is a View. Views are lightweight structs that conform to the View protocol. Here is what the generated ContentView looks like:
struct ContentView: View {
    var body: some View {
        Text("Hello, world!")
            .padding()
    }
}
The body property returns some View, which is an opaque return type. This means SwiftUI figures out the concrete type at compile time, giving you type safety without verbose type annotations.
Building Our Task List View
Let us replace the default content with a task list. First, create a data model:
struct Task: Identifiable {
    let id = UUID()
    var title: String
    var isCompleted: Bool
}
The Identifiable protocol is essential for SwiftUI lists. It requires an id property, which we satisfy with a UUID.
Now, update ContentView to display a list of tasks:
struct ContentView: View {
    @State private var tasks: [Task] = [
        Task(title: "Design app wireframes", isCompleted: false),
        Task(title: "Set up project structure", isCompleted: true),
        Task(title: "Implement core features", isCompleted: false)
    ]

    var body: some View {
        NavigationView {
            List {
                ForEach(tasks) { task in
                    TaskRow(task: task)
                }
            }
            .navigationTitle("TaskBoard")
        }
    }
}
Creating a Reusable Row Component
Extracting a row into its own view keeps your code modular:
struct TaskRow: View {
    let task: Task

    var body: some View {
        HStack {
            Image(systemName: task.isCompleted ? "checkmark.circle.fill" : "circle")
                .foregroundColor(task.isCompleted ? .green : .gray)
            Text(task.title)
                .strikethrough(task.isCompleted)
        }
    }
}
This TaskRow uses an HStack (horizontal stack) to arrange the checkbox icon and title side by side. SF Symbols provide the circle and checkmark icons, and the strikethrough modifier visually indicates completed tasks.
State Management in SwiftUI
State management is where SwiftUI truly shines. SwiftUI provides several property wrappers for different scenarios.
@State
@State is for simple, view-local state. When a @State variable changes, SwiftUI automatically re-renders the view. We used it above for our tasks array.
@Binding
@Binding creates a two-way connection to a @State property in a parent view. Let us make our task rows interactive:
struct TaskRow: View {
    @Binding var task: Task

    var body: some View {
        HStack {
            Button(action: {
                task.isCompleted.toggle()
            }) {
                Image(systemName: task.isCompleted ? "checkmark.circle.fill" : "circle")
                    .foregroundColor(task.isCompleted ? .green : .gray)
            }
            .buttonStyle(PlainButtonStyle())

            Text(task.title)
                .strikethrough(task.isCompleted)
        }
    }
}
Update the ForEach in ContentView to pass a binding:
ForEach($tasks) { $task in
    TaskRow(task: $task)
}
The $ prefix creates a binding from a state variable.
@ObservedObject and @StateObject
For more complex data, you will use ObservableObject classes. @StateObject owns the object (creates and retains it), while @ObservedObject borrows a reference.
class TaskStore: ObservableObject {
    @Published var tasks: [Task] = []

    func addTask(title: String) {
        let task = Task(title: title, isCompleted: false)
        tasks.append(task)
    }

    func deleteTask(at offsets: IndexSet) {
        tasks.remove(atOffsets: offsets)
    }
}
The @Published property wrapper automatically notifies SwiftUI when the tasks array changes. Use @StateObject in the view that creates the store:
struct ContentView: View {
    @StateObject private var store = TaskStore()
    // ...
}
Adding Navigation
Navigation in SwiftUI uses NavigationView and NavigationLink. Let us add a detail view for each task:
struct TaskDetailView: View {
    @Binding var task: Task
    @State private var editedTitle: String = ""

    var body: some View {
        Form {
            Section(header: Text("Task Details")) {
                TextField("Title", text: $editedTitle)
                Toggle("Completed", isOn: $task.isCompleted)
            }

            Section {
                Button("Save Changes") {
                    task.title = editedTitle
                }
                .disabled(editedTitle.isEmpty)
            }
        }
        .navigationTitle("Edit Task")
        .onAppear {
            editedTitle = task.title
        }
    }
}
Wire it up in ContentView:
ForEach($tasks) { $task in
    NavigationLink(destination: TaskDetailView(task: $task)) {
        TaskRow(task: $task)
    }
}
Adding New Tasks
Let us add the ability to create new tasks. We will use a sheet presentation:
struct AddTaskView: View {
    @Environment(\.presentationMode) var presentationMode
    @State private var title = ""
    var onAdd: (String) -> Void

    var body: some View {
        NavigationView {
            Form {
                TextField("Task title", text: $title)
            }
            .navigationTitle("New Task")
            .toolbar {
                ToolbarItem(placement: .cancellationAction) {
                    Button("Cancel") {
                        presentationMode.wrappedValue.dismiss()
                    }
                }
                ToolbarItem(placement: .confirmationAction) {
                    Button("Add") {
                        onAdd(title)
                        presentationMode.wrappedValue.dismiss()
                    }
                    .disabled(title.isEmpty)
                }
            }
        }
    }
}
In ContentView, add a toolbar button to present the sheet:
@State private var showingAddTask = false

// Inside NavigationView:
.toolbar {
    Button(action: { showingAddTask = true }) {
        Image(systemName: "plus")
    }
}
.sheet(isPresented: $showingAddTask) {
    AddTaskView { title in
        tasks.append(Task(title: title, isCompleted: false))
    }
}
Swipe to Delete
SwiftUI makes swipe-to-delete straightforward:
List {
    ForEach($tasks) { $task in
        NavigationLink(destination: TaskDetailView(task: $task)) {
            TaskRow(task: $task)
        }
    }
    .onDelete { offsets in
        tasks.remove(atOffsets: offsets)
    }
}
The .onDelete modifier automatically adds swipe-to-delete functionality to your list rows.
Styling and Polish
Let us add some visual polish. SwiftUI provides extensive modifier APIs for styling:
struct TaskRow: View {
    @Binding var task: Task

    var body: some View {
        HStack(spacing: 12) {
            Button(action: {
                withAnimation(.easeInOut(duration: 0.2)) {
                    task.isCompleted.toggle()
                }
            }) {
                Image(systemName: task.isCompleted ? "checkmark.circle.fill" : "circle")
                    .font(.title2)
                    .foregroundColor(task.isCompleted ? .green : .gray)
            }
            .buttonStyle(PlainButtonStyle())

            VStack(alignment: .leading, spacing: 4) {
                Text(task.title)
                    .font(.body)
                    .strikethrough(task.isCompleted)
                    .foregroundColor(task.isCompleted ? .secondary : .primary)
            }

            Spacer()
        }
        .padding(.vertical, 4)
    }
}
The withAnimation wrapper ensures the toggle animates smoothly. SwiftUI handles all the animation interpolation for you.
Persisting Data with UserDefaults
For a simple app like ours, UserDefaults works well for persistence. Make the Task struct conform to Codable:
struct Task: Identifiable, Codable {
    let id: UUID
    var title: String
    var isCompleted: Bool

    init(id: UUID = UUID(), title: String, isCompleted: Bool) {
        self.id = id
        self.title = title
        self.isCompleted = isCompleted
    }
}
Add save and load methods to TaskStore:
class TaskStore: ObservableObject {
    @Published var tasks: [Task] = [] {
        didSet { save() }
    }

    init() {
        load()
    }

    private func save() {
        if let data = try? JSONEncoder().encode(tasks) {
            UserDefaults.standard.set(data, forKey: "tasks")
        }
    }

    private func load() {
        if let data = UserDefaults.standard.data(forKey: "tasks"),
           let decoded = try? JSONDecoder().decode([Task].self, from: data) {
            tasks = decoded
        }
    }
}
For production apps with larger datasets, consider Core Data or a third-party solution like Realm.
Testing Your SwiftUI Views
SwiftUI previews serve as a fast visual testing tool. Add preview providers to each view:
struct ContentView_Previews: PreviewProvider {
    static var previews: some View {
        ContentView()
            .preferredColorScheme(.light)
        ContentView()
            .preferredColorScheme(.dark)
    }
}
For unit testing your view models and data stores, standard XCTest works well:
class TaskStoreTests: XCTestCase {
    func testAddTask() {
        let store = TaskStore()
        store.addTask(title: "Test task")
        XCTAssertEqual(store.tasks.count, 1)
        XCTAssertEqual(store.tasks.first?.title, "Test task")
    }
}
What to Explore Next
Now that you have a working SwiftUI app, here are the natural next steps:
- Core Data integration for robust local persistence
- Combine framework for reactive data pipelines
- Custom animations and transitions to polish the user experience
- WidgetKit to build iOS 14 home screen widgets
- App Clips for lightweight, instant experiences
Final Thoughts
SwiftUI in 2021 is production-ready for most new iOS projects. The declarative syntax reduces boilerplate, live previews accelerate iteration, and the built-in state management system handles complexity gracefully.
The learning curve is real, especially if you are coming from UIKit. But the investment pays dividends quickly. You write less code, ship faster, and produce more maintainable apps.
Start with a small project like our TaskBoard app, get comfortable with the fundamentals, and gradually explore the more advanced APIs. The SwiftUI ecosystem is growing rapidly, and the community has never been more active.
If your Australian startup is considering iOS development, SwiftUI is a strong choice for 2021 and beyond. At eawesome, we have been helping clients adopt SwiftUI since its early days, and we are consistently impressed by the productivity gains it delivers.
Every great app needs reliable cloud infrastructure behind it. Cloud Geeks provides managed AWS and Azure hosting for mobile backends.
Awesome Apps is the mobile development division of Ganda Tech Services, building iOS and Android apps for Australian businesses.
Talk to a Sydney app developer — free.
30 minutes. We'll tell you what your app needs, how long it takes, and what it costs. Real answers, no sales pitch.
Book Free App Strategy Call →Free · 30 minutes · No obligation