Introduction
Android dominates the global smartphone market with over 70% market share. In Australia, the split is closer to 50/50 with iOS, but Android’s reach across diverse price points makes it essential for any mobile strategy.
Kotlin, officially supported by Google since 2017 and the preferred language since 2019, has transformed Android development. It eliminates Java’s verbosity while adding modern language features that prevent entire categories of bugs.
This guide takes you from zero to your first working Android app.
Setting Up Your Development Environment
System Requirements
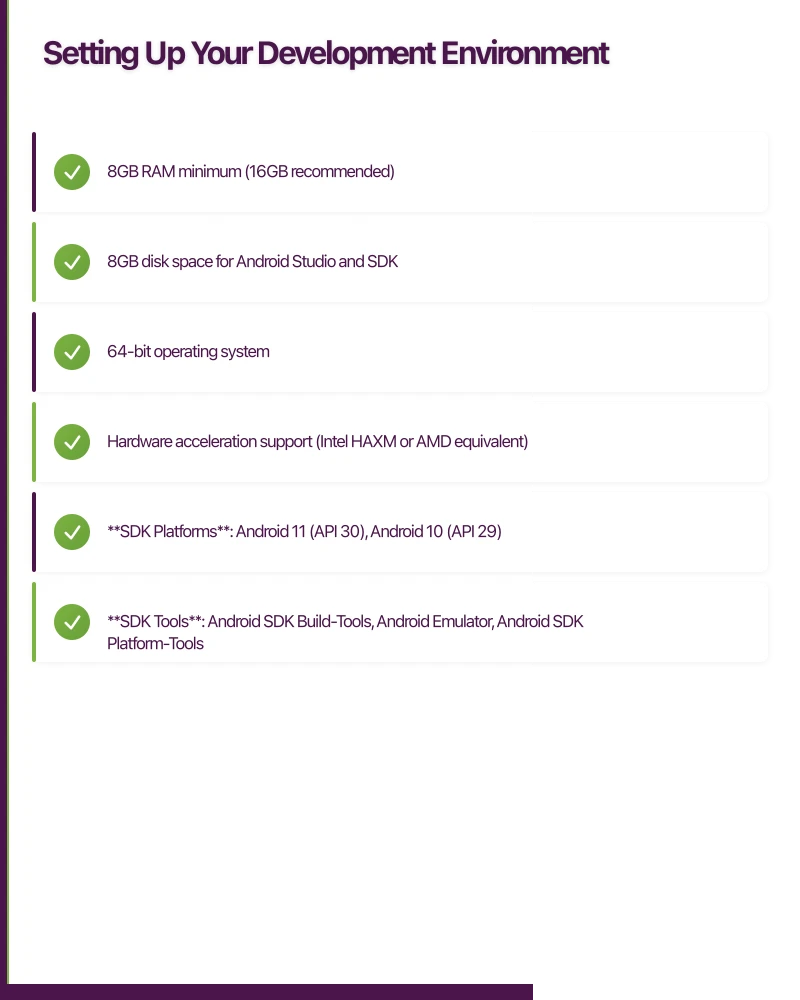
Android development works on Windows, macOS, and Linux. You need:
- 8GB RAM minimum (16GB recommended)
- 8GB disk space for Android Studio and SDK
- 64-bit operating system
- Hardware acceleration support (Intel HAXM or AMD equivalent)
Installing Android Studio
Download Android Studio from developer.android.com. As of January 2021, version 4.1 is current. The installer includes Android Studio and the Android SDK.
Run the installer and accept defaults. On first launch, the Setup Wizard downloads additional SDK components. This may take 15-30 minutes depending on your connection.
Configuring the SDK
Android Studio manages SDK versions through the SDK Manager (Tools > SDK Manager).
For development in 2021, install:
- SDK Platforms: Android 11 (API 30), Android 10 (API 29)
- SDK Tools: Android SDK Build-Tools, Android Emulator, Android SDK Platform-Tools
The SDK Manager shows which components are installed and available. Keep build tools updated for best compatibility.
Creating an Emulator
The AVD Manager (Tools > AVD Manager) creates virtual devices for testing.
Click “Create Virtual Device” and choose a phone model. Pixel 4 is a good choice—modern specs without being the absolute latest. Select a system image (Android 11 recommended) and finish creation.
Start the emulator to verify it works. First boot takes several minutes as the virtual device initialises.
Kotlin Lang
 uage Fundamentals
Why Kotlin
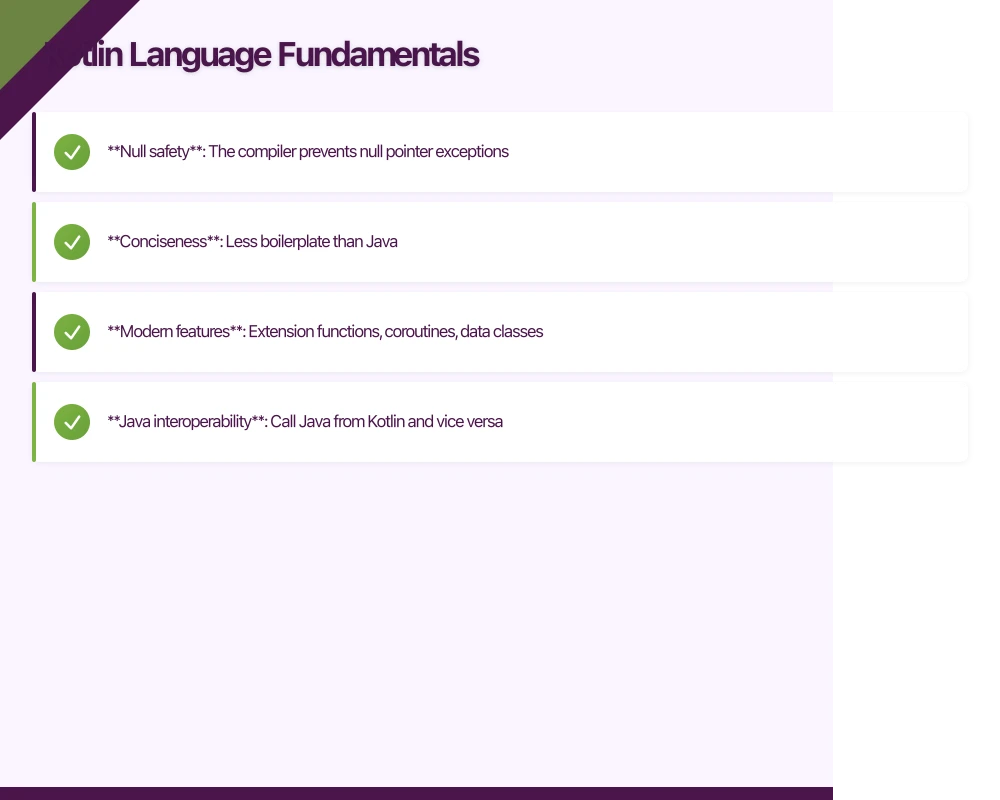
Kotlin addresses Java’s pain points while maintaining full interoperability. Key advantages:
- Null safety: The compiler prevents null pointer exceptions
- Conciseness: Less boilerplate than Java
- Modern features: Extension functions, coroutines, data classes
- Java interoperability: Call Java from Kotlin and vice versa
Variables and Types
Kotlin distinguishes between mutable (var) and immutable (val) variables:
val name = "Sydney"        // Immutable - cannot reassign
var population = 5312000   // Mutable - can reassign

population = 5400000       // Valid
// name = "Melbourne"      // Compiler error
Type inference determines types automatically, but you can be explicit:
val temperature: Double = 28.5
val cities: List<String> = listOf("Sydney", "Melbourne", "Brisbane")
Null Safety
Kotlin’s type system distinguishes nullable and non-nullable types:
var name: String = "Alice"   // Cannot be null
var nickname: String? = null // Can be null

// Safe call operator
val length = nickname?.length  // Returns null if nickname is null

// Elvis operator for defaults
val displayName = nickname ?: "Unknown"

// Not-null assertion (use sparingly)
val forcedLength = nickname!!.length  // Crashes if null
Functions
Kotlin functions are concise:
// Standard function
fun greet(name: String): String {
    return "Hello, $name!"
}

// Single-expression function
fun greet(name: String) = "Hello, $name!"

// Default parameters
fun greet(name: String, greeting: String = "Hello") = "$greeting, $name!"

// Named arguments
greet(name = "Alice", greeting = "G'day")
Classes and Data Classes
// Standard class
class Person(val name: String, var age: Int) {
    fun celebrateBirthday() {
        age++
    }
}

// Data class - generates equals, hashCode, toString, copy
data class User(
    val id: Int,
    val email: String,
    val name: String
)

val user = User(1, "[email protected]", "Alice")
val copy = user.copy(name = "Alicia")
Collections
// Lists
val fruits = listOf("Apple", "Banana", "Cherry")  // Immutable
val mutableFruits = mutableListOf("Apple")        // Mutable
mutableFruits.add("Banana")

// Maps
val scores = mapOf("Alice" to 95, "Bob" to 87)
val mutableScores = mutableMapOf<String, Int>()
mutableScores["Carol"] = 92

// Functional operations
val highScorers = scores
    .filter { it.value >= 90 }
    .map { it.key }
Extension Functions
Add methods to existing classes without inheritance:
fun String.addExclamation() = this + "!"

val excited = "Hello".addExclamation()  // "Hello!"

fun Int.isEven() = this % 2 == 0
val check = 4.isEven()  // true
Building Your Firs
 t Android App
Creating a New Project
In Android Studio, select File > New > New Project. Choose “Empty Activity” template.
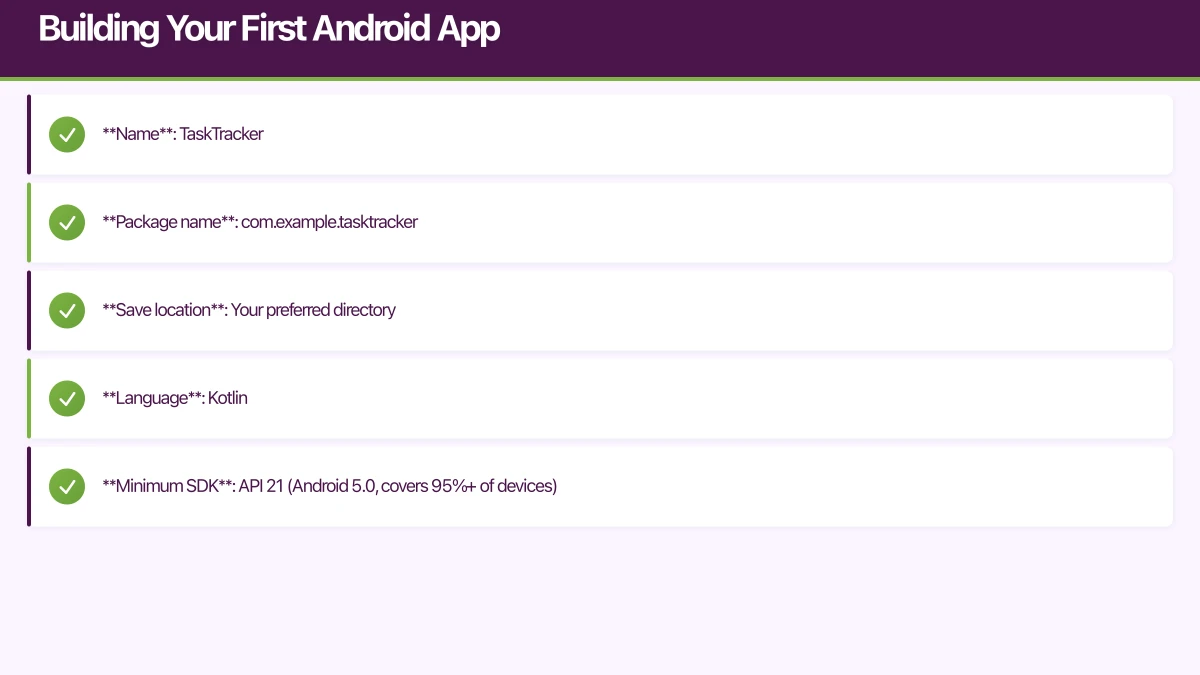
Configure your project:
- Name: TaskTracker
- Package name: com.example.tasktracker
- Save location: Your preferred directory
- Language: Kotlin
- Minimum SDK: API 21 (Android 5.0, covers 95%+ of devices)
Click Finish. Android Studio creates the project and performs initial Gradle sync.
Project Structure
Key directories and files:
app/
  src/
    main/
      java/com/example/tasktracker/  # Kotlin code goes here
        MainActivity.kt
      res/
        layout/                       # XML layouts
          activity_main.xml
        values/                       # Resources
          colors.xml
          strings.xml
          themes.xml
      AndroidManifest.xml             # App configuration
  build.gradle                        # App-level dependencies
build.gradle                          # Project-level configuration
Understanding Activities
Activities represent screens in your app. Each activity has a lifecycle:
class MainActivity : AppCompatActivity() {

    override fun onCreate(savedInstanceState: Bundle?) {
        super.onCreate(savedInstanceState)
        setContentView(R.layout.activity_main)
        // Initialize UI
    }

    override fun onStart() {
        super.onStart()
        // Activity becoming visible
    }

    override fun onResume() {
        super.onResume()
        // Activity in foreground, interactive
    }

    override fun onPause() {
        super.onPause()
        // Activity losing focus
    }

    override fun onStop() {
        super.onStop()
        // Activity no longer visible
    }

    override fun onDestroy() {
        super.onDestroy()
        // Activity being destroyed
    }
}
Layouts with XML
Android uses XML to define user interfaces. Open activity_main.xml:
<?xml version="1.0" encoding="utf-8"?>
<LinearLayout
    xmlns:android="http://schemas.android.com/apk/res/android"
    android:layout_width="match_parent"
    android:layout_height="match_parent"
    android:orientation="vertical"
    android:padding="16dp">

    <TextView
        android:id="@+id/titleText"
        android:layout_width="match_parent"
        android:layout_height="wrap_content"
        android:text="My Tasks"
        android:textSize="24sp"
        android:textStyle="bold" />

    <androidx.recyclerview.widget.RecyclerView
        android:id="@+id/taskRecyclerView"
        android:layout_width="match_parent"
        android:layout_height="0dp"
        android:layout_weight="1"
        android:layout_marginTop="16dp" />

    <Button
        android:id="@+id/addButton"
        android:layout_width="match_parent"
        android:layout_height="wrap_content"
        android:text="Add Task" />

</LinearLayout>
View Binding
View binding generates classes to access views safely. Enable it in app/build.gradle:
android {
    buildFeatures {
        viewBinding true
    }
}
Sync Gradle, then use binding in your activity:
class MainActivity : AppCompatActivity() {

    private lateinit var binding: ActivityMainBinding

    override fun onCreate(savedInstanceState: Bundle?) {
        super.onCreate(savedInstanceState)
        binding = ActivityMainBinding.inflate(layoutInflater)
        setContentView(binding.root)

        binding.addButton.setOnClickListener {
            showAddTaskDialog()
        }
    }
}
Building the Task List
Create a data class for tasks:
data class Task(
    val id: Int,
    val title: String,
    var isComplete: Boolean = false
)
Create an adapter for RecyclerView:
class TaskAdapter(
    private val tasks: MutableList<Task>,
    private val onTaskClick: (Task) -> Unit,
    private val onDeleteClick: (Task) -> Unit
) : RecyclerView.Adapter<TaskAdapter.TaskViewHolder>() {

    class TaskViewHolder(val binding: ItemTaskBinding) :
        RecyclerView.ViewHolder(binding.root)

    override fun onCreateViewHolder(parent: ViewGroup, viewType: Int): TaskViewHolder {
        val binding = ItemTaskBinding.inflate(
            LayoutInflater.from(parent.context), parent, false
        )
        return TaskViewHolder(binding)
    }

    override fun onBindViewHolder(holder: TaskViewHolder, position: Int) {
        val task = tasks[position]
        holder.binding.apply {
            taskTitle.text = task.title
            taskCheckbox.isChecked = task.isComplete

            root.setOnClickListener { onTaskClick(task) }
            deleteButton.setOnClickListener { onDeleteClick(task) }

            taskCheckbox.setOnCheckedChangeListener { _, isChecked ->
                task.isComplete = isChecked
            }
        }
    }

    override fun getItemCount() = tasks.size

    fun addTask(task: Task) {
        tasks.add(task)
        notifyItemInserted(tasks.size - 1)
    }

    fun removeTask(task: Task) {
        val position = tasks.indexOf(task)
        if (position >= 0) {
            tasks.removeAt(position)
            notifyItemRemoved(position)
        }
    }
}
Create item_task.xml for individual task rows:
<?xml version="1.0" encoding="utf-8"?>
<LinearLayout
    xmlns:android="http://schemas.android.com/apk/res/android"
    android:layout_width="match_parent"
    android:layout_height="wrap_content"
    android:orientation="horizontal"
    android:padding="12dp"
    android:gravity="center_vertical">

    <CheckBox
        android:id="@+id/taskCheckbox"
        android:layout_width="wrap_content"
        android:layout_height="wrap_content" />

    <TextView
        android:id="@+id/taskTitle"
        android:layout_width="0dp"
        android:layout_height="wrap_content"
        android:layout_weight="1"
        android:textSize="16sp"
        android:layout_marginStart="8dp" />

    <ImageButton
        android:id="@+id/deleteButton"
        android:layout_width="wrap_content"
        android:layout_height="wrap_content"
        android:src="@android:drawable/ic_delete"
        android:background="?attr/selectableItemBackgroundBorderless"
        android:contentDescription="Delete task" />

</LinearLayout>
Completing the Activity
class MainActivity : AppCompatActivity() {

    private lateinit var binding: ActivityMainBinding
    private lateinit var adapter: TaskAdapter
    private val tasks = mutableListOf<Task>()
    private var nextId = 1

    override fun onCreate(savedInstanceState: Bundle?) {
        super.onCreate(savedInstanceState)
        binding = ActivityMainBinding.inflate(layoutInflater)
        setContentView(binding.root)

        setupRecyclerView()
        setupAddButton()
    }

    private fun setupRecyclerView() {
        adapter = TaskAdapter(
            tasks,
            onTaskClick = { task ->
                Toast.makeText(this, "Clicked: ${task.title}", Toast.LENGTH_SHORT).show()
            },
            onDeleteClick = { task ->
                adapter.removeTask(task)
            }
        )

        binding.taskRecyclerView.layoutManager = LinearLayoutManager(this)
        binding.taskRecyclerView.adapter = adapter
    }

    private fun setupAddButton() {
        binding.addButton.setOnClickListener {
            showAddTaskDialog()
        }
    }

    private fun showAddTaskDialog() {
        val editText = EditText(this).apply {
            hint = "Task name"
        }

        AlertDialog.Builder(this)
            .setTitle("New Task")
            .setView(editText)
            .setPositiveButton("Add") { _, _ ->
                val title = editText.text.toString()
                if (title.isNotBlank()) {
                    val task = Task(nextId++, title)
                    adapter.addTask(task)
                }
            }
            .setNegativeButton("Cancel", null)
            .show()
    }
}
Running Your App
Click the Run button (green play arrow) or press Shift+F10. Select your emulator or connected device. Gradle builds the app and installs it.
Your task tracker app should launch. Add tasks, mark them complete, and delete them.
Essential Android Concepts
Intents
Intents enable communication between components:
// Start a new activity
val intent = Intent(this, DetailActivity::class.java)
intent.putExtra("TASK_ID", task.id)
startActivity(intent)

// Open a URL
val browserIntent = Intent(Intent.ACTION_VIEW, Uri.parse("https://example.com"))
startActivity(browserIntent)

// Share content
val shareIntent = Intent(Intent.ACTION_SEND).apply {
    type = "text/plain"
    putExtra(Intent.EXTRA_TEXT, "Check out this task: ${task.title}")
}
startActivity(Intent.createChooser(shareIntent, "Share via"))
Fragments
Fragments are reusable UI components that can be combined within activities:
class TaskListFragment : Fragment() {

    private var _binding: FragmentTaskListBinding? = null
    private val binding get() = _binding!!

    override fun onCreateView(
        inflater: LayoutInflater,
        container: ViewGroup?,
        savedInstanceState: Bundle?
    ): View {
        _binding = FragmentTaskListBinding.inflate(inflater, container, false)
        return binding.root
    }

    override fun onDestroyView() {
        super.onDestroyView()
        _binding = null
    }
}
Resources
Android separates code from resources for localisation and configuration:
{/* res/values/strings.xml */}
<resources>
    <string name="app_name">TaskTracker</string>
    <string name="add_task">Add Task</string>
    <string name="task_placeholder">Enter task name</string>
</resources>
Reference strings in layouts:
<Button android:text="@string/add_task" />Reference in code:
val text = getString(R.string.add_task)Permissions
Android requires explicit permission requests for sensitive operations:
{/* AndroidManifest.xml */}
<uses-permission android:name="android.permission.INTERNET" />
<uses-permission android:name="android.permission.CAMERA" />
Runtime permissions (for dangerous permissions):
private val requestPermissionLauncher = registerForActivityResult(
    ActivityResultContracts.RequestPermission()
) { isGranted ->
    if (isGranted) {
        // Permission granted, proceed
    } else {
        // Explain why permission is needed
    }
}

// Request permission
requestPermissionLauncher.launch(Manifest.permission.CAMERA)
Best Practices
Follow Material Design
Google’s Material Design provides consistent, intuitive interfaces. Use Material Components library for buttons, cards, text fields, and more.
Handle Configuration Changes
Screen rotation destroys and recreates activities. Use ViewModel to preserve data:
class TaskViewModel : ViewModel() {
    private val _tasks = MutableLiveData<List<Task>>()
    val tasks: LiveData<List<Task>> = _tasks

    fun addTask(task: Task) {
        val current = _tasks.value.orEmpty().toMutableList()
        current.add(task)
        _tasks.value = current
    }
}
Test on Multiple Devices
Screen sizes, API levels, and manufacturer customisations vary widely. Test on emulators with different configurations and physical devices when possible.
Optimise for Battery
Avoid unnecessary background work. Use WorkManager for deferred tasks. Respect Doze mode and App Standby.
Next Steps
This guide establishes the foundation. Continue learning with:
- Android Jetpack: Google’s suite of libraries for modern Android development
- Navigation Component: Type-safe navigation between screens
- Room Database: SQLite abstraction for local data persistence
- Retrofit: HTTP client for API communication
- Coroutines: Asynchronous programming without callbacks
Build projects. Explore the official Android documentation. Join Android developer communities.
The Android ecosystem evolves rapidly, but the fundamentals remain stable. Master the basics, then layer on modern libraries and patterns. Your first app is just the beginning.
Drive more app downloads with a professional web presence. Cosmos Web Tech specialises in web design and SEO for Australian tech businesses.
Awesome Apps is the mobile development division of Ganda Tech Services, building iOS and Android apps for Australian businesses.
Talk to a Sydney app developer — free.
30 minutes. We'll tell you what your app needs, how long it takes, and what it costs. Real answers, no sales pitch.
Book Free App Strategy Call →Free · 30 minutes · No obligation