Building Augmented Reality Features for Mobile Apps
Augmented Reality on mobile has moved well past the gimmick phase. IKEA Place lets users visualise furniture in their homes. Sephora Virtual Artist shows how makeup looks on your face. Measure apps ship built into both iOS and Android. These are not novelties — they are features that drive real business outcomes.
For app developers, the barrier to entry has dropped significantly. ARKit 6 on iOS and ARCore on Android provide sophisticated capabilities out of the box: surface detection, light estimation, face tracking, object occlusion, and more. You do not need a computer vision PhD to build compelling AR experiences.
This guide covers practical AR implementation for both platforms, focusing on features that solve real user problems rather than impressive demos that never ship.
AR Capabilities in 2023
Both ARKit and ARCore have matured substantially. Here is what each platform offers:
ARKit 6 (iOS)
- LiDAR Scanner support (iPhone 12 Pro and later) for instant surface detection
- 4K video capture with AR content overlay
- Location Anchors for placing AR content at real-world GPS coordinates
- Object Capture for creating 3D models from photos
- Body tracking for full-body motion capture
- RoomPlan for scanning room geometry
ARCore (Android)
- Environmental HDR for realistic lighting
- Depth API for object occlusion on supported devices
- Geospatial API for location-based AR
- Cloud Anchors for multi-user AR experiences
- Augmented Faces for face-based effects
- Recording and Playback for AR session replay
Getting Started with ARKit
Basic Surface Detection
The foundation of most AR experiences is detecting flat surfaces where virtual objects can be placed:
import ARKit
import RealityKit

class ARViewController: UIViewController {
    var arView: ARView!

    override func viewDidLoad() {
        super.viewDidLoad()

        arView = ARView(frame: view.bounds)
        view.addSubview(arView)

        // Configure AR session
        let config = ARWorldTrackingConfiguration()
        config.planeDetection = [.horizontal, .vertical]
        config.environmentTexturing = .automatic

        // Enable LiDAR if available
        if ARWorldTrackingConfiguration.supportsSceneReconstruction(.mesh) {
            config.sceneReconstruction = .mesh
        }

        arView.session.run(config)

        // Add tap gesture to place objects
        let tapGesture = UITapGestureRecognizer(
            target: self, action: #selector(handleTap)
        )
        arView.addGestureRecognizer(tapGesture)
    }

    @objc func handleTap(_ gesture: UITapGestureRecognizer) {
        let location = gesture.location(in: arView)

        // Raycast to find surface
        guard let result = arView.raycast(
            from: location,
            allowing: .estimatedPlane,
            alignment: .horizontal
        ).first else { return }

        // Place a 3D object at the hit point
        let anchor = AnchorEntity(raycastResult: result)
        let modelEntity = try? ModelEntity.loadModel(named: "furniture_chair")
        modelEntity?.generateCollisionShapes(recursive: true)

        if let model = modelEntity {
            // Enable gestures for manipulation
            arView.installGestures([
                .translation, .rotation, .scale
            ], for: model)

            anchor.addChild(model)
            arView.scene.addAnchor(anchor)
        }
    }
}
Product Visualisation with RealityKit
For e-commerce apps, letting users place products in their space drives purchase confidence:
class ProductARView: UIViewController {
    var arView: ARView!
    var currentProduct: ARProduct?
    var placedAnchor: AnchorEntity?

    func loadProduct(_ product: ARProduct) {
        currentProduct = product

        // Load 3D model from URL
        var request = MeshResource.GenerateRequest()
        Entity.loadModelAsync(contentsOf: product.modelURL)
            .sink(
                receiveCompletion: { completion in
                    if case .failure(let error) = completion {
                        print("Failed to load model: \(error)")
                    }
                },
                receiveValue: { [weak self] entity in
                    self?.placeProduct(entity)
                }
            )
            .store(in: &cancellables)
    }

    func placeProduct(_ entity: ModelEntity) {
        // Remove previous product
        placedAnchor?.removeFromParent()

        // Scale model to real-world dimensions
        if let product = currentProduct {
            let scale = product.realWorldScale
            entity.scale = SIMD3(repeating: scale)
        }

        // Apply realistic materials
        entity.generateCollisionShapes(recursive: true)

        let anchor = AnchorEntity(
            plane: .horizontal,
            minimumBounds: [0.2, 0.2]
        )
        anchor.addChild(entity)
        arView.scene.addAnchor(anchor)
        placedAnchor = anchor

        // Enable manipulation gestures
        arView.installGestures([
            .translation, .rotation, .scale
        ], for: entity)
    }
}
Getting Started with AR
Core
Android AR Session Setup
class ARActivity : AppCompatActivity() {
    private lateinit var arFragment: ArFragment
    private var selectedModel: Uri? = null

    override fun onCreate(savedInstanceState: Bundle?) {
        super.onCreate(savedInstanceState)
        setContentView(R.layout.activity_ar)

        arFragment = supportFragmentManager
            .findFragmentById(R.id.ar_fragment) as ArFragment

        // Handle plane taps
        arFragment.setOnTapArPlaneListener { hitResult, plane, _ ->
            if (plane.type != Plane.Type.HORIZONTAL_UPWARD_FACING) return@setOnTapArPlaneListener
            placeObject(hitResult.createAnchor())
        }
    }

    private fun placeObject(anchor: Anchor) {
        val modelUri = selectedModel ?: return

        ModelRenderable.builder()
            .setSource(this, modelUri)
            .setIsFilamentGltf(true)
            .build()
            .thenAccept { renderable ->
                val anchorNode = AnchorNode(anchor)
                anchorNode.setParent(arFragment.arSceneView.scene)

                val modelNode = TransformableNode(
                    arFragment.transformationSystem
                )
                modelNode.setParent(anchorNode)
                modelNode.renderable = renderable
                modelNode.select()
            }
            .exceptionally { throwable ->
                Log.e("AR", "Error loading model", throwable)
                null
            }
    }
}
Depth Occlusion
The Depth API enables virtual objects to appear behind real-world objects, dramatically improving realism:
fun enableDepthOcclusion(session: Session) {
    if (session.isDepthModeSupported(Config.DepthMode.AUTOMATIC)) {
        val config = session.config
        config.depthMode = Config.DepthMode.AUTOMATIC
        session.configure(config)
    }
}
Practical AR Use Cases
Measurement Tools
Build a measurement feature using AR plane detection and raycasting:
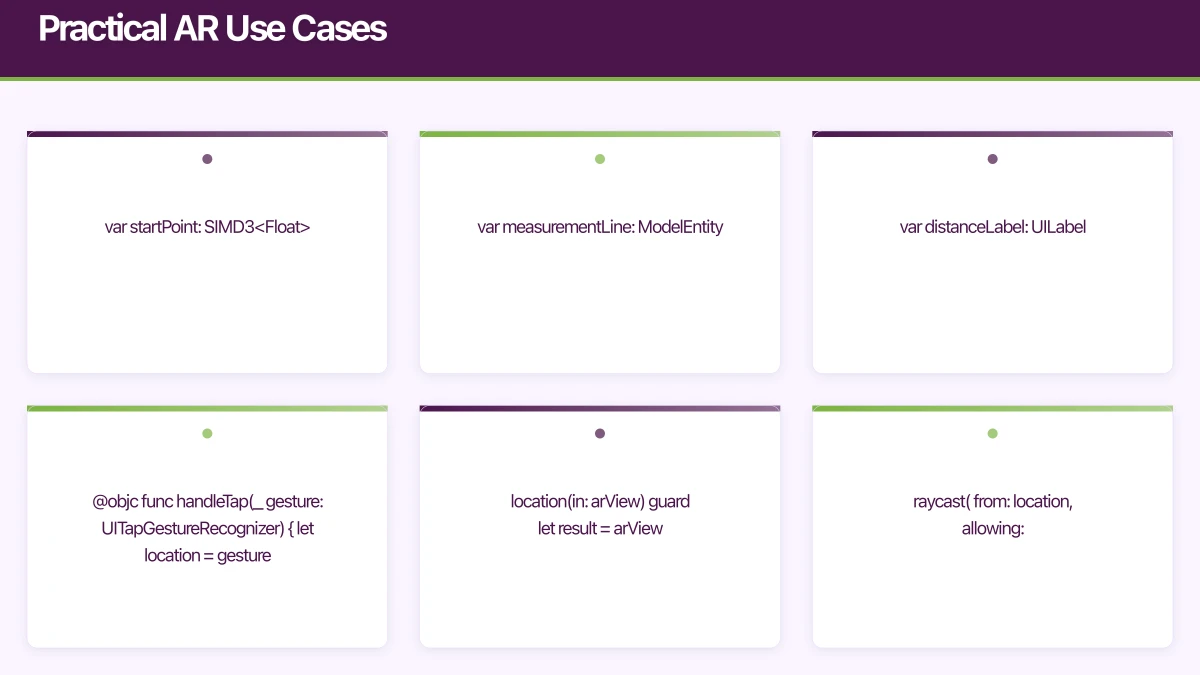
class MeasurementViewController: UIViewController {
    var arView: ARView!
    var startPoint: SIMD3<Float>?
    var measurementLine: ModelEntity?
    var distanceLabel: UILabel!

    @objc func handleTap(_ gesture: UITapGestureRecognizer) {
        let location = gesture.location(in: arView)

        guard let result = arView.raycast(
            from: location,
            allowing: .estimatedPlane,
            alignment: .any
        ).first else { return }

        let worldPosition = result.worldTransform.columns.3
        let point = SIMD3(worldPosition.x, worldPosition.y, worldPosition.z)

        if let start = startPoint {
            // Calculate distance
            let distance = simd_distance(start, point)
            let distanceCm = distance * 100

            // Display measurement
            distanceLabel.text = String(format: "%.1f cm", distanceCm)

            // Draw line between points
            drawLine(from: start, to: point)

            startPoint = nil
        } else {
            startPoint = point
            placeDot(at: point)
        }
    }
}
Virtual Try-On
Face tracking enables virtual try-on for glasses, jewellery, and cosmetics:
func setupFaceTracking() {
    guard ARFaceTrackingConfiguration.isSupported else {
        showUnsupportedAlert()
        return
    }

    let config = ARFaceTrackingConfiguration()
    config.maximumNumberOfTrackedFaces = 1
    arView.session.run(config)
}

func session(_ session: ARSession, didUpdate anchors: [ARAnchor]) {
    for anchor in anchors {
        guard let faceAnchor = anchor as? ARFaceAnchor else { continue }

        // Position glasses on the face
        let leftEye = faceAnchor.leftEyeTransform
        let rightEye = faceAnchor.rightEyeTransform

        // Calculate glasses position between eyes
        let glassesPosition = simd_mix(
            leftEye.columns.3,
            rightEye.columns.3,
            simd_float4(repeating: 0.5)
        )

        glassesEntity?.transform = Transform(matrix: faceAnchor.transform)
        glassesEntity?.position = SIMD3(
            glassesPosition.x,
            glassesPosition.y,
            glassesPosition.z
        )
    }
}
Location-Based AR
Place AR content at specific real-world locations using ARKit’s Location Anchors or ARCore’s Geospatial API:
// ARCore Geospatial API - place content at a location
fun placeGeoAnchor(
    earth: Earth,
    latitude: Double,
    longitude: Double,
    altitude: Double
) {
    val anchor = earth.createAnchor(
        latitude, longitude, altitude,
        0f, 0f, 0f, 1f // Quaternion rotation
    )

    // Attach renderable to the geo-anchor
    val anchorNode = AnchorNode(anchor)
    anchorNode.setParent(arFragment.arSceneView.scene)

    ModelRenderable.builder()
        .setSource(this, Uri.parse("point_of_interest.glb"))
        .build()
        .thenAccept { renderable ->
            val modelNode = Node()
            modelNode.renderable = renderable
            modelNode.setParent(anchorNode)
        }
}
This enables wayfinding, historical overlays, and location-based gaming features.
3D Model Pipeline
You need 3D assets for AR. Here are practical approaches:
Professional 3D modelling: Tools like Blender (free) or Maya create production-quality models. Export as USDZ (iOS) or GLB/glTF (Android).
Photogrammetry: ARKit’s Object Capture API creates 3D models from photos taken on iPhone or iPad. Great for real products.
Cloud-based conversion: Services like Google’s Model Viewer or Apple’s Reality Converter transform between formats.
Asset size matters: AR models should be under 10MB for fast loading. Optimise polygon counts and texture resolutions for mobile.
Performance Guidelines
AR is computationally intensive. Follow these guidelines:
- Target 60fps consistently. Dropped frames in AR cause motion sickness.
- Limit polygon counts to under 100,000 per model for smooth rendering.
- Use LOD (Level of Detail) to show simpler models at distance.
- Minimise transparent surfaces, which are expensive to render.
- Profile with Instruments (Xcode) or GPU Profiler (Android Studio).
- Test on older devices — AR should work on iPhone SE and mid-range Android devices, not just flagships.
User Experience Best Practices
AR experiences must guide users clearly:
- Show coaching overlays that teach users to scan their environment
- Provide visual feedback when surfaces are detected
- Offer a reset button to restart the AR session
- Include a non-AR fallback for unsupported devices
- Keep sessions short — AR is cognitively demanding and battery-intensive
AR features add genuine value when they solve a real user problem: “Will this couch fit?” “How do these glasses look on me?” “Where is the meeting room?” Start with the problem, then build the AR solution that addresses it.
Ready to add AR features to your mobile app? Our team at eawesome builds immersive augmented reality experiences for Australian businesses.
For a strategic perspective on how mobile fits into your broader digital transformation, read Ash Ganda’s insights on technology strategy.
Ashish Ganda is the founder of Ganda Tech Services, a Sydney-based technology consultancy helping Australian businesses grow through cloud, web, and mobile solutions.
Talk to a Sydney app developer — free.
30 minutes. We'll tell you what your app needs, how long it takes, and what it costs. Real answers, no sales pitch.
Book Free App Strategy Call →Free · 30 minutes · No obligation