Implementing Machine Learning in Mobile Apps with TensorFlow Lite
Machine learning on mobile devices has moved from experimental to practical. TensorFlow Lite makes it possible to run trained models directly on iOS and Android devices without a network connection, providing instant predictions, preserving user privacy, and eliminating server costs for inference.
In 2022, the common use cases for on-device ML include image classification, object detection, text sentiment analysis, smart replies, and pose estimation. This guide covers the practical implementation with TensorFlow Lite across both platforms.
Why On-Device ML
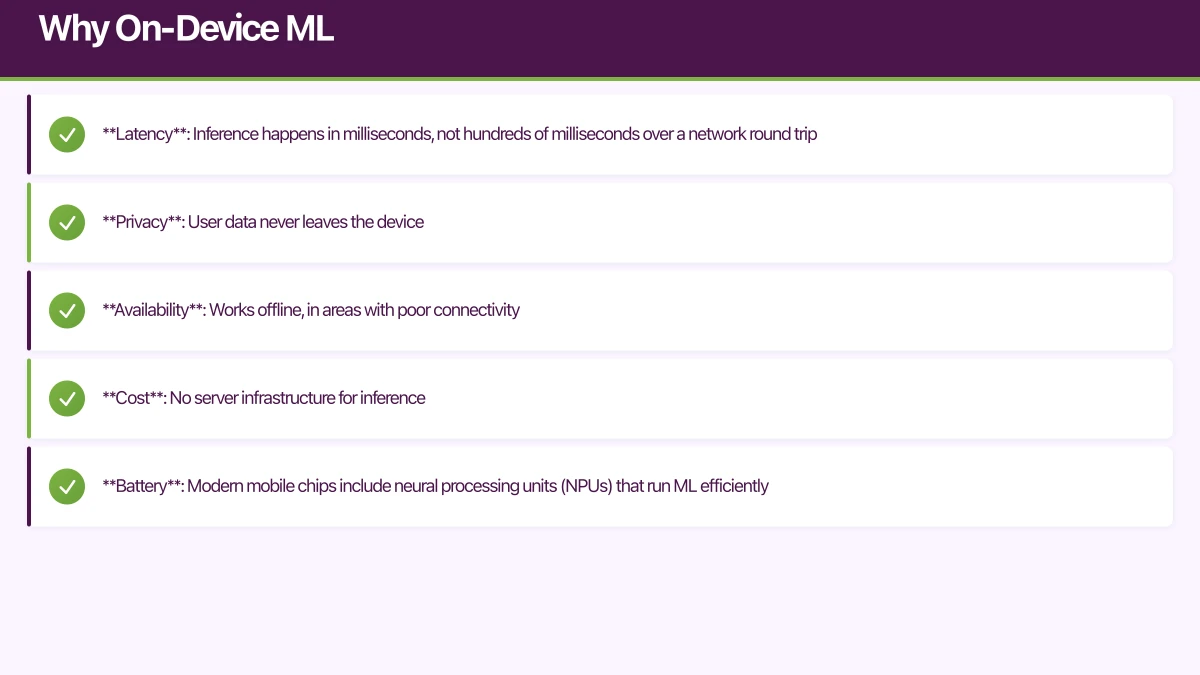
Running ML on the device rather than the server has significant advantages:
- Latency: Inference happens in milliseconds, not hundreds of milliseconds over a network round trip
- Privacy: User data never leaves the device
- Availability: Works offline, in areas with poor connectivity
- Cost: No server infrastructure for inference
- Battery: Modern mobile chips include neural processing units (NPUs) that run ML efficiently
The trade-off is model size. On-device models must be small enough to bundle with your app or download efficiently. TensorFlow Lite addresses this with model optimisation techniques.
TensorFlow Lite Setup
 Android Setup
// build.gradle (app)
dependencies {
    implementation 'org.tensorflow:tensorflow-lite:2.10.0'
    implementation 'org.tensorflow:tensorflow-lite-support:0.4.2'
    implementation 'org.tensorflow:tensorflow-lite-gpu:2.10.0' // GPU acceleration
}
Place your .tflite model file in app/src/main/assets/.
iOS Setup
# Podfile
pod 'TensorFlowLiteSwift', '~> 2.10.0'
Or with Swift Package Manager, add the TensorFlow Lite repository.
Place your .tflite model file in your Xcode project bundle.
Image Classification
The m
ost common on-device ML use case. Classify images into predefined categories.
Android Implementation
class ImageClassifier(private val context: Context) {

    private var interpreter: Interpreter? = null
    private val labels: List<String>

    init {
        // Load model
        val modelFile = loadModelFile("mobilenet_v2.tflite")
        val options = Interpreter.Options().apply {
            setNumThreads(4)
            // Enable GPU delegate for faster inference
            addDelegate(GpuDelegate())
        }
        interpreter = Interpreter(modelFile, options)

        // Load labels
        labels = context.assets.open("labels.txt")
            .bufferedReader()
            .readLines()
    }

    fun classify(bitmap: Bitmap): List<Classification> {
        // Preprocess: resize to model input size
        val resized = Bitmap.createScaledBitmap(bitmap, 224, 224, true)

        // Convert to ByteBuffer
        val inputBuffer = ByteBuffer.allocateDirect(4 * 224 * 224 * 3)
        inputBuffer.order(ByteOrder.nativeOrder())

        val pixels = IntArray(224 * 224)
        resized.getPixels(pixels, 0, 224, 0, 0, 224, 224)

        for (pixel in pixels) {
            // Normalise to [0, 1]
            inputBuffer.putFloat(((pixel shr 16) and 0xFF) / 255f)
            inputBuffer.putFloat(((pixel shr 8) and 0xFF) / 255f)
            inputBuffer.putFloat((pixel and 0xFF) / 255f)
        }

        // Run inference
        val outputBuffer = Array(1) { FloatArray(labels.size) }
        interpreter?.run(inputBuffer, outputBuffer)

        // Process results
        return outputBuffer[0]
            .mapIndexed { index, confidence ->
                Classification(
                    label = labels[index],
                    confidence = confidence,
                )
            }
            .sortedByDescending { it.confidence }
            .take(5)
    }

    private fun loadModelFile(filename: String): ByteBuffer {
        val assetFileDescriptor = context.assets.openFd(filename)
        val inputStream = FileInputStream(assetFileDescriptor.fileDescriptor)
        val fileChannel = inputStream.channel
        val startOffset = assetFileDescriptor.startOffset
        val declaredLength = assetFileDescriptor.declaredLength
        return fileChannel.map(
            FileChannel.MapMode.READ_ONLY,
            startOffset,
            declaredLength,
        )
    }

    fun close() {
        interpreter?.close()
    }
}

data class Classification(
    val label: String,
    val confidence: Float,
)
iOS Implementation
import TensorFlowLite

class ImageClassifier {
    private var interpreter: Interpreter

    init() throws {
        guard let modelPath = Bundle.main.path(
            forResource: "mobilenet_v2",
            ofType: "tflite"
        ) else {
            throw ClassifierError.modelNotFound
        }

        var options = Interpreter.Options()
        options.threadCount = 4

        interpreter = try Interpreter(modelPath: modelPath, options: options)
        try interpreter.allocateTensors()
    }

    func classify(image: UIImage) throws -> [Classification] {
        // Resize image to 224x224
        guard let resizedImage = image.resize(to: CGSize(width: 224, height: 224)),
              let pixelBuffer = resizedImage.pixelBuffer()
        else {
            throw ClassifierError.preprocessingFailed
        }

        // Convert to input data
        let inputData = preprocessPixelBuffer(pixelBuffer)

        // Run inference
        try interpreter.copy(inputData, toInputAt: 0)
        try interpreter.invoke()

        // Get output
        let outputTensor = try interpreter.output(at: 0)
        let outputData = outputTensor.data

        // Parse results
        let results = outputData.withUnsafeBytes { buffer in
            Array(buffer.bindMemory(to: Float32.self))
        }

        let labels = loadLabels()
        return results.enumerated()
            .map { Classification(label: labels[$0.offset], confidence: $0.element) }
            .sorted { $0.confidence > $1.confidence }
            .prefix(5)
            .map { $0 }
    }

    private func preprocessPixelBuffer(_ buffer: CVPixelBuffer) -> Data {
        CVPixelBufferLockBaseAddress(buffer, .readOnly)
        defer { CVPixelBufferUnlockBaseAddress(buffer, .readOnly) }

        let width = CVPixelBufferGetWidth(buffer)
        let height = CVPixelBufferGetHeight(buffer)
        let baseAddress = CVPixelBufferGetBaseAddress(buffer)!

        var inputData = Data(count: 224 * 224 * 3 * 4) // Float32

        inputData.withUnsafeMutableBytes { pointer in
            let floatPointer = pointer.bindMemory(to: Float32.self)
            let pixelPointer = baseAddress.assumingMemoryBound(to: UInt8.self)

            var index = 0
            for y in 0 ..< height {
                for x in 0 ..< width {
                    let offset = y * CVPixelBufferGetBytesPerRow(buffer) + x * 4
                    floatPointer[index] = Float32(pixelPointer[offset]) / 255.0     // R
                    floatPointer[index + 1] = Float32(pixelPointer[offset + 1]) / 255.0 // G
                    floatPointer[index + 2] = Float32(pixelPointer[offset + 2]) / 255.0 // B
                    index += 3
                }
            }
        }

        return inputData
    }
}
Real-Time Camera Classification
Integ
rate with the camera for live classification:
// Android: CameraX with ML
class CameraClassifierActivity : AppCompatActivity() {
    private lateinit var classifier: ImageClassifier

    private val imageAnalyzer = ImageAnalysis.Analyzer { imageProxy ->
        val bitmap = imageProxy.toBitmap()
        val results = classifier.classify(bitmap)

        runOnUiThread {
            updateUI(results)
        }

        imageProxy.close()
    }

    private fun setupCamera() {
        val cameraProviderFuture = ProcessCameraProvider.getInstance(this)

        cameraProviderFuture.addListener({
            val cameraProvider = cameraProviderFuture.get()

            val preview = Preview.Builder().build()
            val imageAnalysis = ImageAnalysis.Builder()
                .setBackpressureStrategy(ImageAnalysis.STRATEGY_KEEP_ONLY_LATEST)
                .build()
                .also { it.setAnalyzer(executor, imageAnalyzer) }

            cameraProvider.bindToLifecycle(
                this, CameraSelector.DEFAULT_BACK_CAMERA,
                preview, imageAnalysis
            )
        }, ContextCompat.getMainExecutor(this))
    }
}
Model Optimisation
On-device models must be small and fast. TensorFlow Lite provides several optimisation techniques:
Quantisation
Convert model weights from 32-bit floats to 8-bit integers. This reduces model size by roughly 4 times and improves inference speed:
# Python: Convert and quantise a TensorFlow model
import tensorflow as tf

converter = tf.lite.TFLiteConverter.from_saved_model('saved_model_dir')
converter.optimizations = [tf.lite.Optimize.DEFAULT]

# Full integer quantisation
converter.target_spec.supported_types = [tf.int8]

# Representative dataset for calibration
def representative_dataset():
    for data in calibration_data:
        yield [data]

converter.representative_dataset = representative_dataset

tflite_model = converter.convert()

with open('model_quantized.tflite', 'wb') as f:
    f.write(tflite_model)
Model Size Comparison
| Model | Full (FP32) | Quantised (INT8) | Accuracy Impact |
|---|---|---|---|
| MobileNet V2 | 14MB | 3.4MB | Under 1% drop |
| EfficientNet Lite | 19MB | 5.0MB | Under 1% drop |
| BERT (NLP) | 400MB | 100MB | 1-2% drop |
GPU and Neural Engine Acceleration
// Android: GPU delegate
val options = Interpreter.Options()
val gpuDelegate = GpuDelegate()
options.addDelegate(gpuDelegate)

// Android: NNAPI delegate (uses NPU if available)
val nnapiDelegate = NnApiDelegate()
options.addDelegate(nnapiDelegate)
// iOS: Core ML delegate (uses Neural Engine)
var options = Interpreter.Options()
let coreMLDelegate = CoreMLDelegate()
if let delegate = coreMLDelegate {
options.delegates = [delegate]
}Text Classification
On-device text classification for sentiment analysis or spam detection:
class TextClassifier(private val context: Context) {
    private val interpreter: Interpreter
    private val vocabulary: Map<String, Int>

    init {
        val model = loadModelFile("text_classifier.tflite")
        interpreter = Interpreter(model)

        // Load vocabulary
        vocabulary = context.assets.open("vocab.txt")
            .bufferedReader()
            .readLines()
            .mapIndexed { index, word -> word to index }
            .toMap()
    }

    fun classify(text: String): SentimentResult {
        // Tokenise
        val tokens = tokenise(text)

        // Pad or truncate to fixed length
        val maxLength = 256
        val paddedTokens = IntArray(maxLength) { i ->
            if (i < tokens.size) tokens[i] else 0
        }

        // Create input buffer
        val inputBuffer = ByteBuffer.allocateDirect(maxLength * 4)
        inputBuffer.order(ByteOrder.nativeOrder())
        paddedTokens.forEach { inputBuffer.putInt(it) }

        // Run inference
        val output = Array(1) { FloatArray(2) }
        interpreter.run(inputBuffer, output)

        val positive = output[0][1]
        val negative = output[0][0]

        return SentimentResult(
            sentiment = if (positive > negative) "positive" else "negative",
            confidence = maxOf(positive, negative),
        )
    }

    private fun tokenise(text: String): List<Int> {
        return text.lowercase()
            .split(" ")
            .map { vocabulary[it] ?: 0 }
    }
}
Pre-Built ML Solutions
For common use cases, consider pre-built solutions before training custom models:
- ML Kit (Firebase): Face detection, text recognition, barcode scanning, pose detection. Works on both iOS and Android with no ML expertise required.
- Core ML (Apple): Apple’s framework with pre-built models for vision and natural language.
- Vision API (Android): Google’s on-device vision capabilities.
// ML Kit: Text recognition (no custom model needed)
val recognizer = TextRecognition.getClient(TextRecognizerOptions.DEFAULT_OPTIONS)

recognizer.process(inputImage)
    .addOnSuccessListener { text ->
        for (block in text.textBlocks) {
            for (line in block.lines) {
                println(line.text)
            }
        }
    }
Performance Benchmarking
Always benchmark your ML models on target devices:
class ModelBenchmark(private val interpreter: Interpreter) {
    fun benchmark(input: ByteBuffer, iterations: Int = 100): BenchmarkResult {
        val output = Array(1) { FloatArray(1000) }

        // Warm up
        repeat(10) { interpreter.run(input, output) }

        // Measure
        val times = mutableListOf<Long>()
        repeat(iterations) {
            val start = SystemClock.elapsedRealtimeNanos()
            interpreter.run(input, output)
            val end = SystemClock.elapsedRealtimeNanos()
            times.add(end - start)
        }

        return BenchmarkResult(
            averageMs = times.average() / 1_000_000,
            medianMs = times.sorted()[iterations / 2] / 1_000_000.0,
            p95Ms = times.sorted()[(iterations * 0.95).toInt()] / 1_000_000.0,
        )
    }
}
Target inference times:
- Real-time camera: Under 30ms per frame
- User-initiated classification: Under 100ms
- Background processing: Under 500ms
Conclusion
TensorFlow Lite makes on-device machine learning accessible for production mobile apps. Start with pre-built solutions like ML Kit for common use cases, and graduate to custom TensorFlow Lite models when you need specialised behaviour.
The key is optimisation: quantise your models, use hardware accelerators, and benchmark on real devices. A well-optimised model runs in milliseconds, providing a seamless experience that users do not even recognise as machine learning.
For help adding machine learning to your mobile app, contact eawesome. We implement on-device ML solutions for Australian mobile applications.
For insights on building a technology strategy where mobile, web, and cloud work together, visit Ash Ganda’s blog.
This article is brought to you by Ganda Tech Services — Sydney’s complete digital solutions provider covering cloud, web, and mobile.
Talk to a Sydney app developer — free.
30 minutes. We'll tell you what your app needs, how long it takes, and what it costs. Real answers, no sales pitch.
Book Free App Strategy Call →Free · 30 minutes · No obligation