iOS App Development Basics with Swift: Complete Beginner’s Guide
Introduction
Building iOS apps opens access to one of the most lucrative mobile markets. iOS users tend to spend more on apps and in-app purchases. The App Store provides global distribution. Apple’s ecosystem—iPhone, iPad, Apple Watch, Apple TV—offers expansion opportunities beyond the phone.
Swift, Apple’s modern programming language introduced in 2014, has become the standard for iOS development. It combines safety, performance, and expressiveness in ways that make mobile development more productive and enjoyable.
This guide covers everything you need to start building iOS apps with Swift in 2021.
Setting Up Your Development Environment
Requirements
iOS development requires a Mac. There is no official way to develop iOS apps on Windows or Linux. Apple’s tools only run on macOS.
You need:
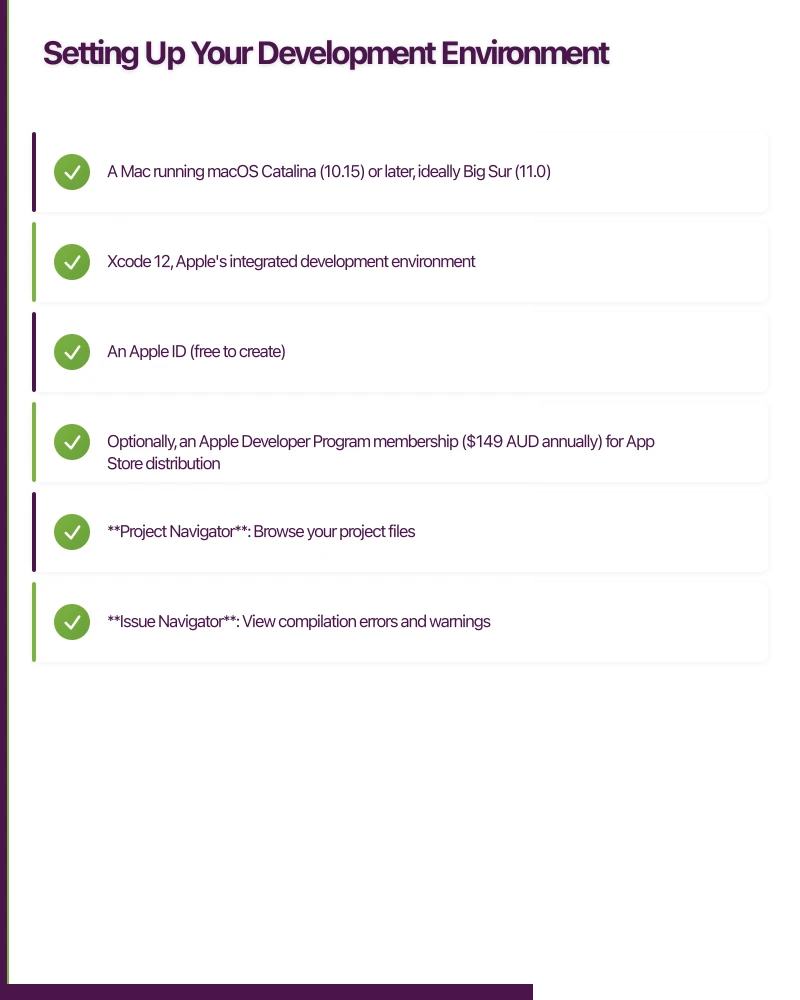
- A Mac running macOS Catalina (10.15) or later, ideally Big Sur (11.0)
- Xcode 12, Apple’s integrated development environment
- An Apple ID (free to create)
- Optionally, an Apple Developer Program membership ($149 AUD annually) for App Store distribution
Installing Xcode
Xcode is available free from the Mac App Store. The download is approximately 12GB, so plan accordingly.
After installation, open Xcode and accept the license agreement. Xcode will install additional components on first launch.
Verify your installation by creating a new project. Select File > New > Project, choose “App” under iOS, and create a simple project. If it builds and runs in the simulator, your environment is ready.
Understanding Xcode
Xcode combines code editing, interface design, debugging, performance analysis, and device management. The interface is dense but logical once you understand the layout.
The Navigator (left panel) provides file browsing, search, issue tracking, and more. The Editor (centre) shows your code or interface files. The Inspector (right panel) displays context-sensitive properties. The Debug area (bottom) shows console output and debugging tools.
Key sections you will use constantly:
- Project Navigator: Browse your project files
- Issue Navigator: View compilation errors and warnings
- Debug Navigator: Monitor CPU, memory, and performance during debugging
- Storyboard Editor: Visual interface design
- Swift Editor: Code editing with autocompletion
Swift Language Fundamentals
Variables and Constants
Swift distinguishes between variables (mutable) and constants (immutable) using var and let:
var currentScore = 0      // Can change
let maximumScore = 100    // Cannot change

currentScore = 50         // Valid
// maximumScore = 200     // Compiler error
Prefer let unless you specifically need mutation. The compiler optimises constants more aggressively, and immutability prevents accidental changes.
Type Inference and Annotations
Swift infers types from initial values:
let name = "Melbourne"        // Inferred as String
let population = 5000000      // Inferred as Int
let temperature = 28.5        // Inferred as Double
You can explicitly annotate types when needed:
let latitude: Double = -37.8136
let isCapital: Bool = false
var cities: [String] = []
Optionals
Swift handles the absence of values through optionals—variables that might contain a value or might be nil:
var middleName: String? = nil  // Optional String
middleName = "James"           // Now has a value

// Safely unwrap with if-let
if let name = middleName {
    print("Middle name is \(name)")
} else {
    print("No middle name")
}

// Guard statements for early exit
func greet(name: String?) {
    guard let unwrappedName = name else {
        print("No name provided")
        return
    }
    print("Hello, \(unwrappedName)")
}
Optionals eliminate null pointer exceptions common in other languages. The compiler forces you to handle the absence case.
Collections
Swift provides arrays, dictionaries, and sets:
// Arrays - ordered collections
var fruits = ["Apple", "Banana", "Cherry"]
fruits.append("Date")
let firstFruit = fruits[0]  // "Apple"

// Dictionaries - key-value pairs
var scores = ["Alice": 95, "Bob": 87, "Carol": 92]
scores["Dave"] = 88
let aliceScore = scores["Alice"]  // Optional(95)

// Sets - unordered unique values
var uniqueNumbers: Set = [1, 2, 3, 3, 3]  // Contains 1, 2, 3
Functions
Functions in Swift are flexible and expressive:
// Basic function
func greet(person: String) -> String {
    return "Hello, \(person)!"
}

// Multiple parameters with argument labels
func greet(person: String, from hometown: String) -> String {
    return "Hello, \(person) from \(hometown)!"
}
let greeting = greet(person: "Alice", from: "Sydney")

// Default parameters
func greet(person: String, punctuation: String = "!") -> String {
    return "Hello, \(person)\(punctuation)"
}

// Functions as parameters
func performOperation(_ a: Int, _ b: Int, operation: (Int, Int) -> Int) -> Int {
    return operation(a, b)
}
let sum = performOperation(5, 3, operation: { $0 + $1 })
Closures
Closures are self-contained blocks of functionality:
let numbers = [1, 2, 3, 4, 5]

// Full closure syntax
let doubled = numbers.map({ (number: Int) -> Int in
    return number * 2
})

// Shortened syntax
let tripled = numbers.map { $0 * 3 }

// Filtering
let evenNumbers = numbers.filter { $0 % 2 == 0 }

// Reducing
let total = numbers.reduce(0) { $0 + $1 }
Classes and Structs
Swift provides both classes (reference types) and structs (value types):
// Struct - value type, copied on assignment
struct Point {
    var x: Double
    var y: Double

    func distanceFromOrigin() -> Double {
        return (x * x + y * y).squareRoot()
    }
}

var point1 = Point(x: 3, y: 4)
var point2 = point1  // Creates a copy
point2.x = 10        // Only point2 changes

// Class - reference type, shared on assignment
class Person {
    var name: String
    var age: Int

    init(name: String, age: Int) {
        self.name = name
        self.age = age
    }

    func celebrateBirthday() {
        age += 1
    }
}

let person1 = Person(name: "Alice", age: 30)
let person2 = person1  // References same object
person2.age = 31       // Both see the change
Prefer structs for most data types. Use classes when you need inheritance or reference semantics.
Building Yo
 ur First App
Creating a New Project
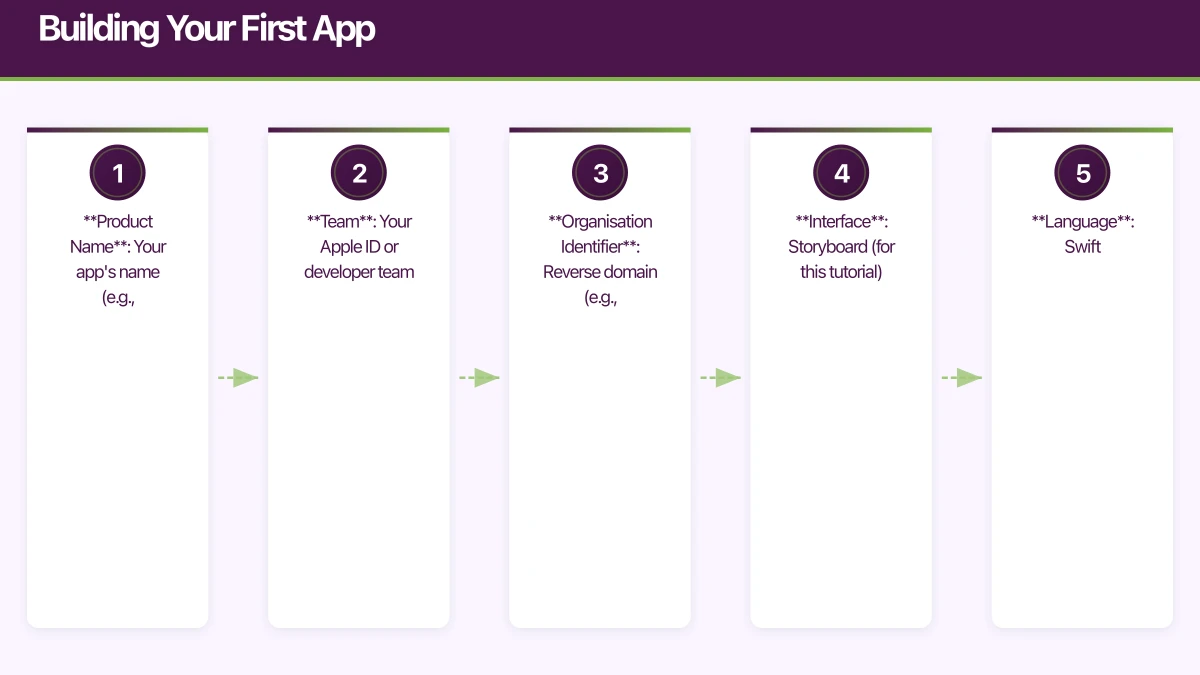
Open Xcode and select “Create a new Xcode project”. Choose “App” under iOS. Configure your project:
- Product Name: Your app’s name (e.g., “TaskTracker”)
- Team: Your Apple ID or developer team
- Organisation Identifier: Reverse domain (e.g., “com.yourcompany”)
- Interface: Storyboard (for this tutorial)
- Language: Swift
Click Create and choose a location for your project.
Understanding the Project Structure
Xcode creates several files:
- AppDelegate.swift: Application lifecycle events
- SceneDelegate.swift: UI lifecycle (iOS 13+)
- ViewController.swift: Your first view controller
- Main.storyboard: Visual interface layout
- Assets.xcassets: Images and colours
- LaunchScreen.storyboard: App launch screen
- Info.plist: App configuration
Designing the Interface
Open Main.storyboard. You see a blank view controller—your app’s first screen.
Open the Library (+ button in toolbar) and drag components onto your view:
- Drag a Label to the top. Set its text to “My Tasks”
- Drag a Table View below it, stretching to fill available space
- Drag a Button to the bottom right. Set its title to “Add Task”
Select each element and use the Add New Constraints button (bottom right) to set Auto Layout constraints. For the label, pin it to the top safe area with 20 points margin. For the table view, pin all edges to surrounding elements.
Connecting Interface to Code
Control-drag from interface elements to ViewController.swift to create connections:
import UIKit

class ViewController: UIViewController {

    @IBOutlet weak var tableView: UITableView!

    var tasks: [String] = []

    override func viewDidLoad() {
        super.viewDidLoad()
        tableView.dataSource = self
        tableView.delegate = self
    }

    @IBAction func addTaskTapped(_ sender: UIButton) {
        let alert = UIAlertController(
            title: "New Task",
            message: "Enter task name",
            preferredStyle: .alert
        )

        alert.addTextField { textField in
            textField.placeholder = "Task name"
        }

        alert.addAction(UIAlertAction(title: "Cancel", style: .cancel))
        alert.addAction(UIAlertAction(title: "Add", style: .default) { _ in
            if let taskName = alert.textFields?.first?.text, !taskName.isEmpty {
                self.tasks.append(taskName)
                self.tableView.reloadData()
            }
        })

        present(alert, animated: true)
    }
}

extension ViewController: UITableViewDataSource, UITableViewDelegate {

    func tableView(_ tableView: UITableView, numberOfRowsInSection section: Int) -> Int {
        return tasks.count
    }

    func tableView(_ tableView: UITableView, cellForRowAt indexPath: IndexPath) -> UITableViewCell {
        let cell = tableView.dequeueReusableCell(withIdentifier: "TaskCell")
            ?? UITableViewCell(style: .default, reuseIdentifier: "TaskCell")
        cell.textLabel?.text = tasks[indexPath.row]
        return cell
    }

    func tableView(_ tableView: UITableView, commit editingStyle: UITableViewCell.EditingStyle, forRowAt indexPath: IndexPath) {
        if editingStyle == .delete {
            tasks.remove(at: indexPath.row)
            tableView.deleteRows(at: [indexPath], with: .automatic)
        }
    }
}
Running Your App
Press Command+R or click the Run button. Xcode compiles your app and launches it in the iOS Simulator.
Try adding tasks. Swipe left to delete them. You have built a functional iOS app.
Understanding UIKit
View Controllers
View controllers manage a screen of content. Each screen in your app typically has its own view controller. They handle:
- Loading and laying out views
- Responding to user interactions
- Managing data for the screen
- Coordinating with other view controllers
Common view controller types:
- UIViewController: Base class for custom screens
- UINavigationController: Manages a stack of view controllers
- UITabBarController: Manages tabbed interface
- UITableViewController: Optimised for table-based screens
Views and Layers
Views are the building blocks of your interface. UIKit provides many built-in views:
- UILabel: Display text
- UIButton: Tappable buttons
- UIImageView: Display images
- UITextField: Text input
- UITextView: Multiline text
- UITableView: Scrollable lists
- UICollectionView: Grid layouts
- UIScrollView: Scrollable content
Auto Layout
Auto Layout positions views based on constraints rather than fixed coordinates. This enables interfaces that adapt to different screen sizes and orientations.
Key concepts:
- Constraints: Rules defining position and size
- Safe Area: Region that avoids system UI (notch, home indicator)
- Content Hugging: Resistance to growing
- Compression Resistance: Resistance to shrinking
// Programmatic constraints
view.addSubview(label)
label.translatesAutoresizingMaskIntoConstraints = false
NSLayoutConstraint.activate([
    label.topAnchor.constraint(equalTo: view.safeAreaLayoutGuide.topAnchor, constant: 20),
    label.leadingAnchor.constraint(equalTo: view.leadingAnchor, constant: 20),
    label.trailingAnchor.constraint(equalTo: view.trailingAnchor, constant: -20)
])
Navigation
Most apps have multiple screens. UINavigationController manages a stack of view controllers:
// Push a new view controller
let detailVC = DetailViewController()
detailVC.task = selectedTask
navigationController?.pushViewController(detailVC, animated: true)

// Pop back
navigationController?.popViewController(animated: true)

// Present modally
let settingsVC = SettingsViewController()
present(settingsVC, animated: true)
Best Practices for Beginners
Start Simple
Build the simplest version that works. Complexity emerges naturally as you add features. Resist the urge to architect for scale before you have validated your concept.
Read Apple’s Documentation
Apple’s documentation is comprehensive. The Human Interface Guidelines explain design conventions. The Swift Programming Language book is the definitive Swift reference. WWDC videos provide deep dives into frameworks.
Learn the Debugger
Xcode’s debugger is powerful. Set breakpoints by clicking line numbers. Inspect variables in the debug area. Use po (print object) in the console to examine values.
Use Source Control
Git integration is built into Xcode. Commit frequently. Create branches for experiments. Source control protects you from yourself.
Test on Real Devices
The simulator is convenient but imperfect. Performance, memory, and behaviour differ from real devices. Test on physical devices before releasing, especially for camera, GPS, or performance-sensitive features.
Next Steps
This guide covers the basics. iOS development depth comes from practice and exploration.
Recommended next topics:
- Networking: URLSession for API calls
- Data Persistence: Core Data or UserDefaults
- SwiftUI: Apple’s declarative UI framework
- Combine: Reactive programming framework
- App Architecture: MVC, MVVM, or coordinator patterns
Build projects. Break things. Read documentation when stuck. The iOS development community is welcoming—ask questions on Stack Overflow or the Apple Developer Forums.
Your first app will not be perfect. Neither will your tenth. What matters is shipping, learning, and improving. Start building today.
From staging environments to production servers, Cloud Geeks manages the cloud infrastructure that mobile apps depend on.
Awesome Apps operates under the Ganda Tech Services umbrella, delivering end-to-end technology solutions for Australian businesses.
Talk to a Sydney app developer — free.
30 minutes. We'll tell you what your app needs, how long it takes, and what it costs. Real answers, no sales pitch.
Book Free App Strategy Call →Free · 30 minutes · No obligation