iOS App Store Submission Checklist for Australian Developers
Submitting an app to the Apple App Store is a multi-step process that catches many first-time developers off guard. Apple’s review process is thorough, and a single oversight can result in rejection, delaying your launch by days or weeks.
This checklist covers everything Australian developers need to prepare before hitting “Submit for Review” in App Store Connect. Follow it methodically, and you will significantly reduce the chance of rejection.
Before You Start: Apple Developer Account
If you have not already, you need an Apple Developer Account. There are two types:
Individual account (AUD 149/year): Suitable for solo developers. Your personal name appears as the seller on the App Store.
Organisation account (AUD 149/year): Requires a D-U-N-S Number for your business. Your company name appears as the seller. If you are operating as a registered Australian business, this is the right choice.
The D-U-N-S Number is free to obtain from Dun and Bradstreet Australia, but it can take up to 30 business days. Plan ahead.
Phase 1: Technical Preparation
App Configuration
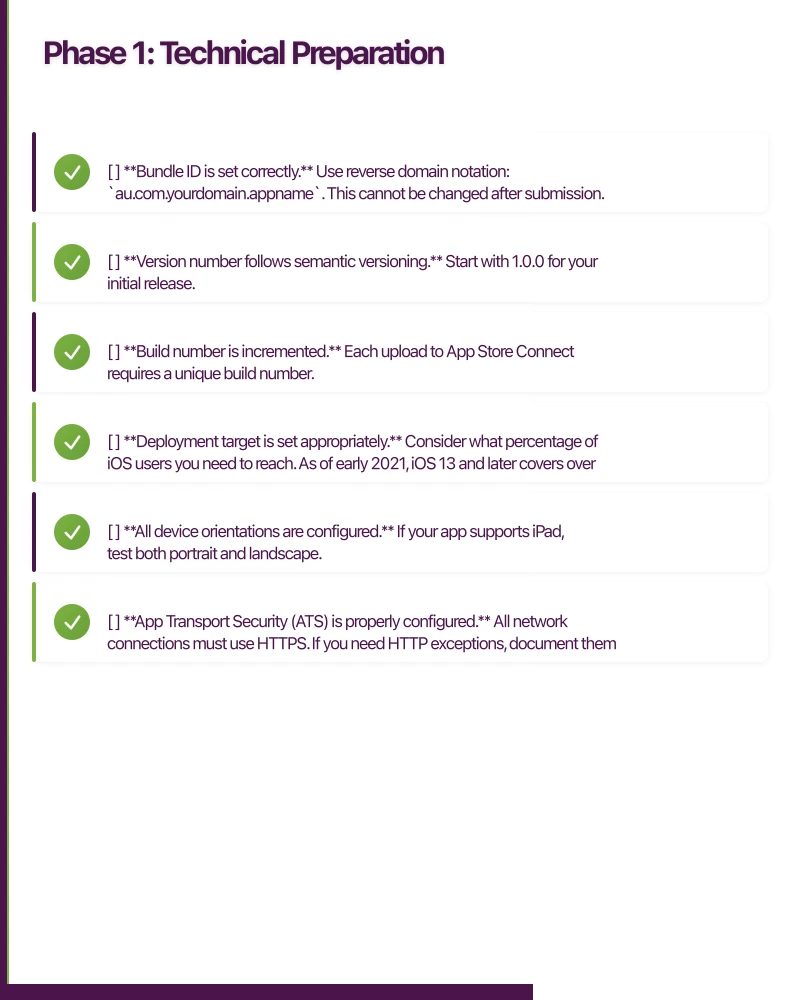
- Bundle ID is set correctly. Use reverse domain notation:
au.com.yourdomain.appname. This cannot be changed after submission. - Version number follows semantic versioning. Start with 1.0.0 for your initial release.
- Build number is incremented. Each upload to App Store Connect requires a unique build number.
- Deployment target is set appropriately. Consider what percentage of iOS users you need to reach. As of early 2021, iOS 13 and later covers over 95 percent of active devices. iOS 14 alone is on approximately 80 percent.
- All device orientations are configured. If your app supports iPad, test both portrait and landscape.
- App Transport Security (ATS) is properly configured. All network connections must use HTTPS. If you need HTTP exceptions, document them clearly for the review team.
Code Quality
- No private API usage. Apple will reject apps that call private APIs. Use only documented, public APIs.
- No crashes. Test thoroughly on real devices, not just the simulator. Common crash points: low memory, poor network, rapid user interactions.
- Memory leaks addressed. Run Instruments with the Leaks template. Fix any persistent leaks.
- No placeholder content. Remove all lorem ipsum, test data, and TODO comments visible in the UI.
- Debug code removed. No debug logging, test credentials, or debug menus in the release build.
Performance
- App launches in under 5 seconds. Apple may reject apps that take too long to launch.
- Smooth scrolling at 60fps. Test on older supported devices (e.g., iPhone 7 if your deployment target is iOS 13).
- Reasonable battery usage. Avoid unnecessary background processing, continuous location tracking, or excessive network requests.
- App size is optimised. Strip unused assets, enable bitcode, and use asset catalogs. Apps over 200 MB cannot be downloaded over cellular data.
Privacy and Permissions
- Privacy descriptions are set for all used permissions. Every permission your app requests must have a usage description in Info.plist:
NSCameraUsageDescriptionNSPhotoLibraryUsageDescriptionNSLocationWhenInUseUsageDescriptionNSLocationAlwaysUsageDescriptionNSMicrophoneUsageDescription- etc.
- Descriptions are clear and specific. “This app needs camera access” is insufficient. “Camera access is used to scan QR codes for checking in to venues” is appropriate.
- App Tracking Transparency implemented (if applicable). If your app tracks users across apps or websites (e.g., for advertising), you must implement ATT and request permission. This is mandatory since iOS 14.5.
Accessibility
- VoiceOver works correctly. Navigate your entire app using VoiceOver. Ensure all interactive elements have meaningful accessibility labels.
- Dynamic Type supported. Text should scale with the user’s preferred text size.
- Sufficient colour contrast. Use the Accessibility Inspector in Xcode to verify contrast ratios.
Phase 2: App Store Connect Setup
App Information
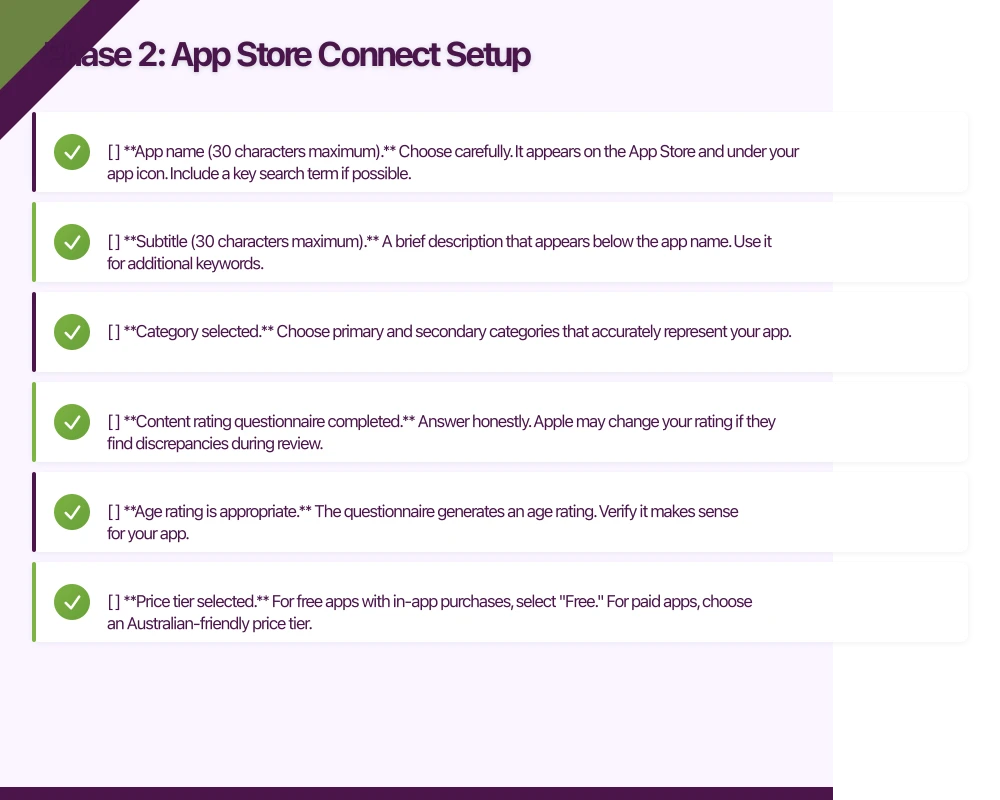
- App name (30 characters maximum). Choose carefully. It appears on the App Store and under your app icon. Include a key search term if possible.
- Subtitle (30 characters maximum). A brief description that appears below the app name. Use it for additional keywords.
- Category selected. Choose primary and secondary categories that accurately represent your app.
- Content rating questionnaire completed. Answer honestly. Apple may change your rating if they find discrepancies during review.
- Age rating is appropriate. The questionnaire generates an age rating. Verify it makes sense for your app.
Pricing and Availability
- Price tier selected. For free apps with in-app purchases, select “Free.” For paid apps, choose an Australian-friendly price tier.
- Availability set to Australia (and other target markets). Select the countries where your app should be available.
- Pre-orders configured (optional). If you want to generate buzz before launch, you can set up pre-orders up to 180 days before release.
App Store Listing
- Description (up to 4,000 characters). Lead with the most compelling information. The first three lines are visible without tapping “more.”
- Keywords (100 characters maximum). Comma-separated, no spaces after commas. Do not repeat words from your app name or subtitle. Research competitors’ keywords.
- What’s New text (for updates). Describe changes in this version. Users read this.
- Support URL. A webpage where users can get help. A simple FAQ page works.
- Privacy Policy URL. Required for all apps that collect user data or have an account system. Must be hosted on a publicly accessible URL.
Screenshots
Apple requires screenshots for each device size you support. The current requirements (as of 2021):
- 6.5-inch display (iPhone 12 Pro Max): Required if you support iPhone
- 5.5-inch display (iPhone 8 Plus): Required
- 12.9-inch display (iPad Pro): Required if you support iPad
- Minimum 3 screenshots, maximum 10 per device size
- Screenshots are accurate. They must represent the actual app experience. Marketing overlays are allowed but the app UI must be genuine.
Tips for effective screenshots:
- Lead with your strongest feature
- Add concise text overlays explaining each screen
- Show the app in action, not empty states
- Use real (but not personal) data in screenshots
- Consider localising screenshots for the Australian market
App Preview Videos (Optional but Recommended)
- Up to 3 preview videos per device size
- 15 to 30 seconds each
- Must represent actual app functionality (no cinematic-only content)
- No misleading content
App Icon
- 1024x1024 pixel icon uploaded to App Store Connect
- No transparency or alpha channel (App Store requirement)
- Visually distinct at small sizes (test at 29x29 and 60x60)
- Follows Apple’s Human Interface Guidelines (no photos, no text unless it is part of a logo)
Phase 3: In-App Purchase Setup (If Applicable)
-
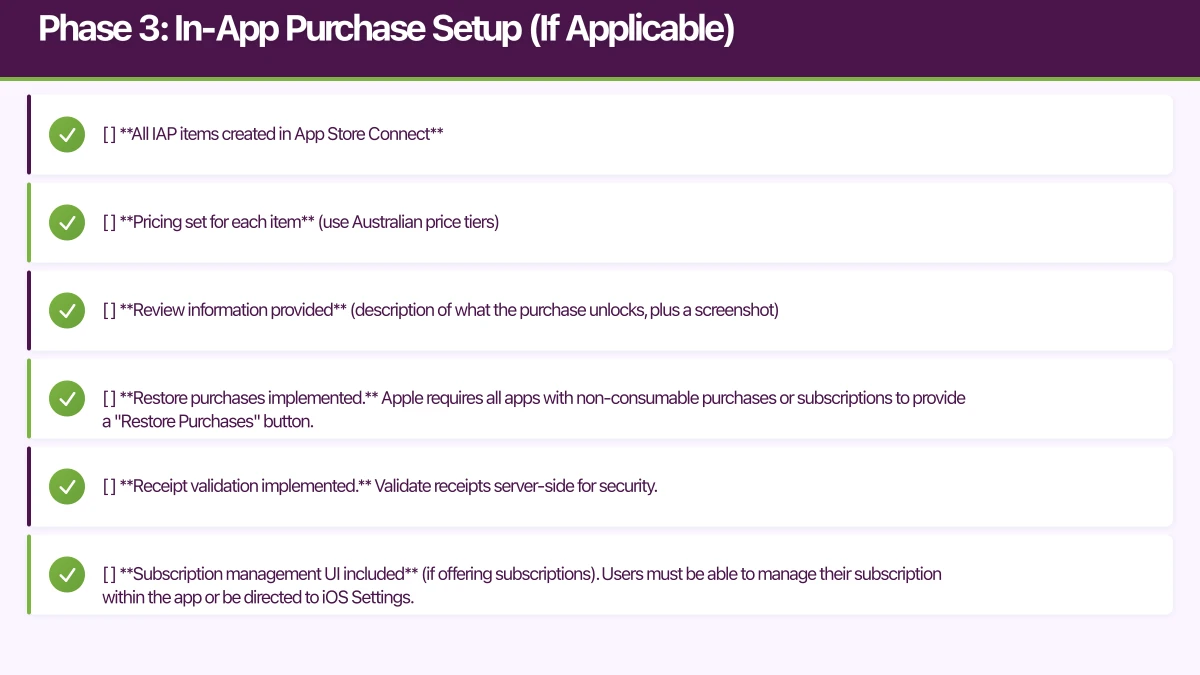
All IAP items created in App Store Connect
-
Pricing set for each item (use Australian price tiers)
-
Review information provided (description of what the purchase unlocks, plus a screenshot)
-
Restore purchases implemented. Apple requires all apps with non-consumable purchases or subscriptions to provide a “Restore Purchases” button.
-
Receipt validation implemented. Validate receipts server-side for security.
-
Subscription management UI included (if offering subscriptions). Users must be able to manage their subscription within the app or be directed to iOS Settings.
Phase 4: Australian-Specific Considerations
Privacy Policy
Australian privacy legislation (the Privacy Act 1988 and Australian Privacy Principles) requires disclosure of how you collect, use, and store personal information. Your privacy policy should cover:
- What data you collect
- How you use it
- Whether you share it with third parties
- How users can access or delete their data
- Your contact details
If your app is used by children under 13, additional protections may apply.
Consumer Law
Australian Consumer Law (ACL) provides strong consumer protections. Key points:
- In-app purchases must be clearly described before purchase
- Subscription terms must be transparent (price, billing frequency, cancellation process)
- Your app must function as described in the App Store listing
- Refund policies must comply with ACL (Apple handles most App Store refunds, but your terms should align)
GST
The 10 percent GST applies to digital products sold in Australia. Apple collects and remits GST on your behalf for Australian App Store sales. Ensure your accounting records reflect this.
Accessibility Requirements
While not legally mandated for most private apps in Australia, the Disability Discrimination Act 1992 could apply. Building accessible apps is both good practice and reduces legal risk.
Phase 5: Testing Before Submission
TestFlight Beta Testing
- Internal testing completed. Test with your team first (up to 25 testers).
- External beta testing completed. Distribute to a broader group (up to 10,000 testers). External builds require a lightweight review from Apple.
- Beta feedback addressed. Fix bugs and usability issues identified during testing.
- Tested on multiple device types. At minimum: current iPhone, one older iPhone, and iPad if supported.
- Tested on current and previous iOS versions. Test on iOS 14 and iOS 13 at minimum.
Pre-Submission Review
- Read the latest App Review Guidelines. They are updated regularly. Familiarise yourself with the current version.
- Test the complete user flow. Sign up, use all features, make a purchase (use sandbox testing), receive notifications, handle errors.
- Verify all links work. Privacy policy, support URL, terms of service.
- Test the app on airplane mode. It should handle no network gracefully.
Phase 6: Submission
Submitting for Review
- Archive your app in Xcode (Product, then Archive)
- Upload to App Store Connect via the Organizer
- In App Store Connect, select the build for your app version
- Complete all required fields
- Submit for review
Review Information
- Demo account provided (if applicable). If your app requires login, provide test credentials. Apple reviewers need to access all features.
- Review notes provided. Explain any non-obvious functionality. If your app uses location, provide a physical address for testing. If it uses specific hardware, explain how to test without it.
- Contact information correct. Apple may reach out during review.
Review Timeline
As of early 2021, most app reviews are completed within 24 to 48 hours. However, more complex apps or first-time submissions may take longer. Plan for up to 7 days in your launch timeline.
Common Rejection Reasons
Based on our experience submitting apps for Australian clients, these are the most frequent rejection reasons:
- Crashes and bugs. Test thoroughly on real devices.
- Incomplete information. Missing privacy policy, support URL, or demo account.
- Misleading metadata. Screenshots or descriptions that do not match the app.
- Insufficient content. Apps that feel like wrappers around a website without native functionality.
- Privacy violations. Collecting data without disclosure or requesting unnecessary permissions.
- Guideline 4.3 (Spam). Apps that duplicate existing apps without adding significant value.
If your app is rejected, read the rejection notes carefully. You can respond in the Resolution Center to ask for clarification or appeal. Most rejections are fixable with minor changes.
Post-Submission
After approval:
- Choose release timing. Release immediately, on a specific date, or manually.
- Monitor crash reports in App Store Connect and Xcode Organizer.
- Respond to user reviews. Engage with feedback, especially negative reviews. This builds trust and can improve ratings.
- Plan your first update. Address any issues discovered by real users promptly.
This checklist has served us well at eawesome across dozens of App Store submissions for Australian clients. Follow it methodically, and you will navigate the submission process smoothly.
For a strategic perspective on how mobile fits into your broader digital transformation, read Ash Ganda’s insights on technology strategy.
Ganda Tech Services brings together cloud infrastructure, web development, and mobile app expertise to help Australian businesses thrive in the digital economy.
Talk to a Sydney app developer — free.
30 minutes. We'll tell you what your app needs, how long it takes, and what it costs. Real answers, no sales pitch.
Book Free App Strategy Call →Free · 30 minutes · No obligation