Building a Mobile App MVP: From Idea to Launch
Every successful app started as an idea. But the gap between “great idea” and “launched product” is where most projects fail. The Minimum Viable Product (MVP) approach is the bridge across that gap. It lets you test your core hypothesis with real users without spending months or years building features nobody wants.
Having helped dozens of Australian startups navigate the MVP process, we have refined an approach that maximises learning while minimising time and cost. This guide walks through the entire journey from idea to launch.
Phase 1: Validate Before You Build
The most expensive mistake in app development is building the wrong thing. Before writing a single line of code, validate that your idea solves a real problem for real people.
Problem Validation
Answer these questions honestly:
-
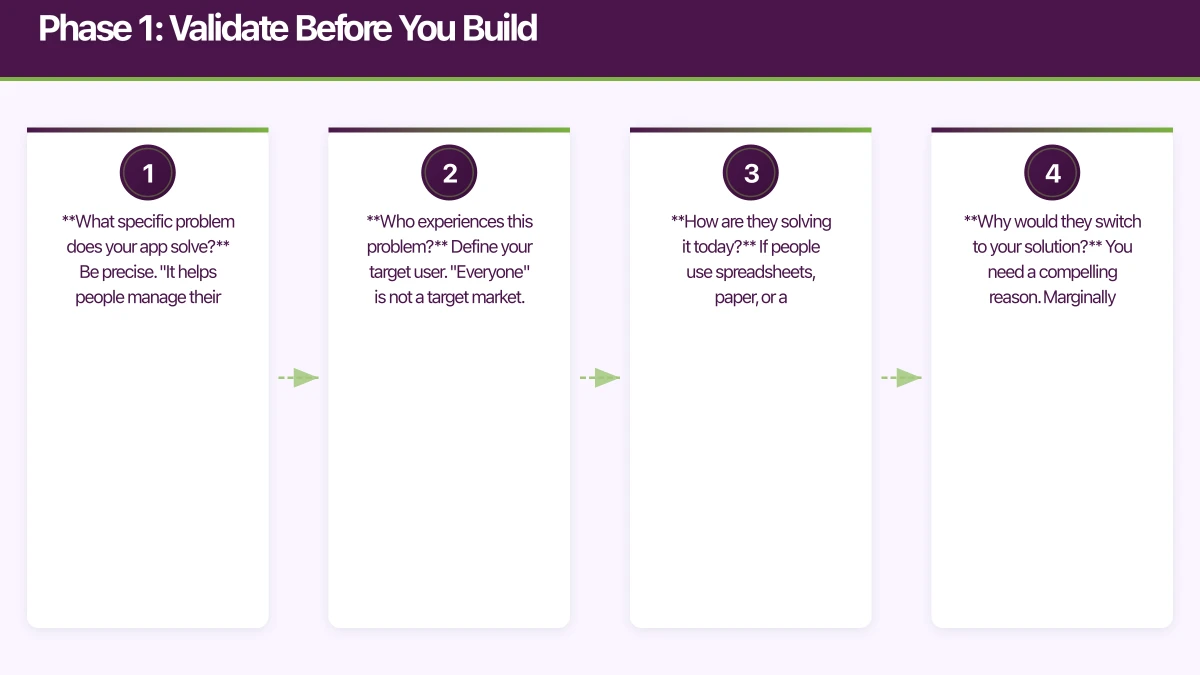
What specific problem does your app solve? Be precise. “It helps people manage their time” is too vague. “It helps freelancers track billable hours across multiple clients and generate invoices” is specific.
-
Who experiences this problem? Define your target user. “Everyone” is not a target market. “Australian freelance designers billing 3 to 10 clients simultaneously” is.
-
How are they solving it today? If people use spreadsheets, paper, or a competitor’s app, there is a validated need. If nobody seems to care about the problem, reconsider.
-
Why would they switch to your solution? You need a compelling reason. Marginally better is not enough. You need to be significantly better at one thing.
Validation Methods
Customer interviews (1 to 2 weeks): Talk to 10 to 20 potential users. Ask about their current workflow and pain points. Do not describe your solution yet. Listen for patterns.
Landing page test (1 week): Build a simple webpage describing your app’s value proposition. Include a sign-up form for early access. Drive traffic with targeted ads (AUD 200 to 500 budget). Measure sign-up rate. Over 5 percent suggests genuine interest.
Concierge MVP (2 to 4 weeks): Manually deliver your app’s core value to a small group of users. If your app automates invoice generation, manually generate invoices for 5 freelancers and track their satisfaction. This validates the value before investing in technology.
Competitor analysis: Study existing solutions. What do their reviews say? What features do users love? What do they complain about? App Store and Google Play reviews are a goldmine.
Phase 2: Define Your MVP Scope
The hardest part of building an MVP is deciding what to leave out. The instinct is to include everything. Resist it.
The One-Feature Test
Your MVP should do one thing exceptionally well. Everything else is secondary. Ask: “If our app could only do one thing, what would it be?”
For our hypothetical freelancer invoicing app:
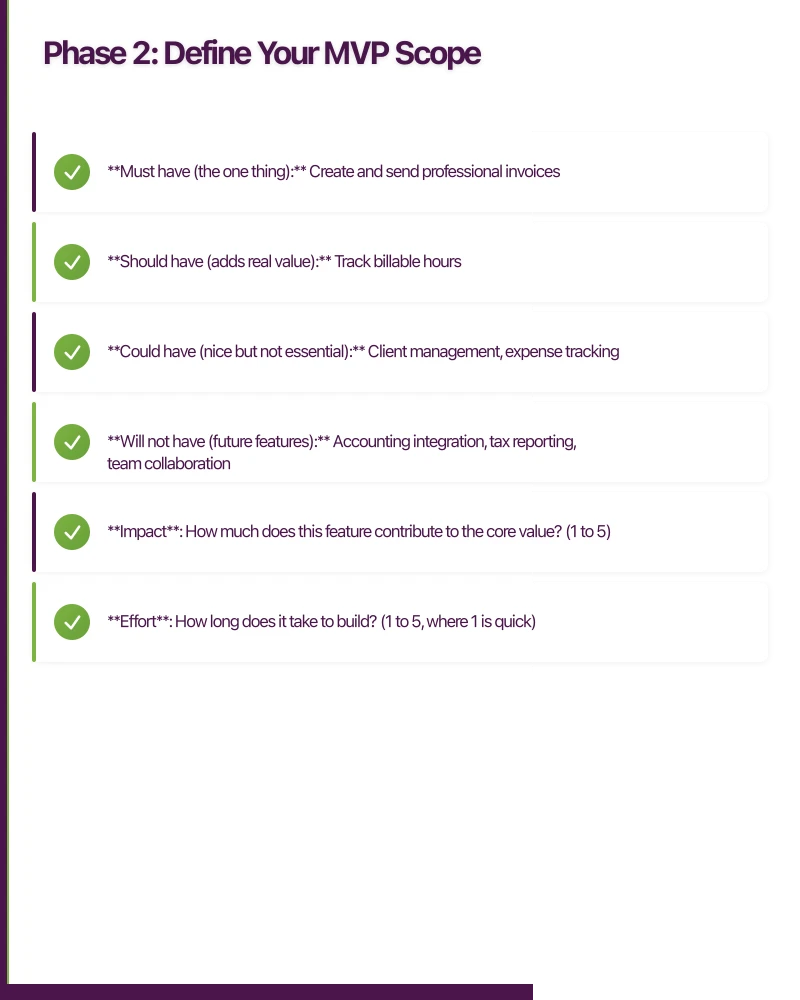
- Must have (the one thing): Create and send professional invoices
- Should have (adds real value): Track billable hours
- Could have (nice but not essential): Client management, expense tracking
- Will not have (future features): Accounting integration, tax reporting, team collaboration
Feature Prioritisation Matrix
Score each potential feature on two axes:
- Impact: How much does this feature contribute to the core value? (1 to 5)
- Effort: How long does it take to build? (1 to 5, where 1 is quick)
Focus on high-impact, low-effort features for your MVP. Defer high-effort features regardless of impact.
User Stories for Your MVP
Write user stories for your MVP features:
- As a freelancer, I want to create a professional invoice with my logo and client details so that I can bill clients quickly.
- As a freelancer, I want to send invoices via email directly from the app so that I do not need to export and email separately.
- As a freelancer, I want to see which invoices are paid and unpaid so that I can follow up on overdue payments.
Each story should be testable and deliver measurable user value.
Phase 3: Choose Your Tech Stack
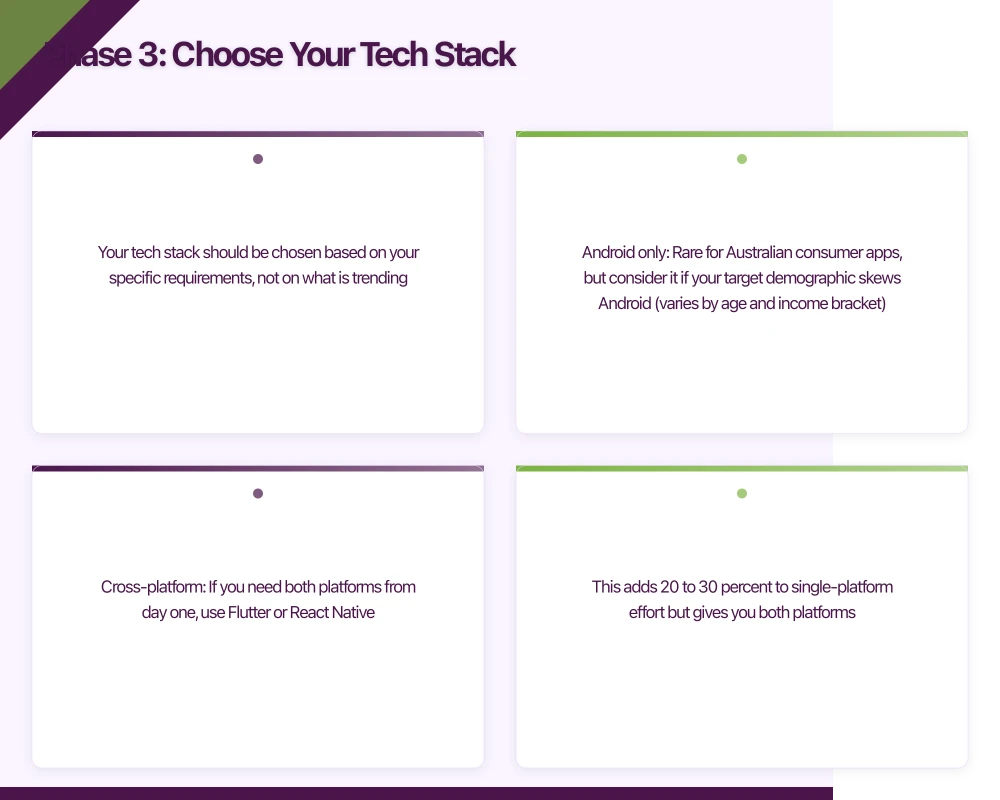
Your tech stack should be chosen based on your specific requirements, not on what is trending.
Platform Decision
iOS only: If your target users are predominantly iPhone users (common in Australia’s professional market), launching iOS-first reduces scope by roughly 40 percent.
Android only: Rare for Australian consumer apps, but consider it if your target demographic skews Android (varies by age and income bracket).
Cross-platform: If you need both platforms from day one, use Flutter or React Native. This adds 20 to 30 percent to single-platform effort but gives you both platforms.
Our recommendation for Australian MVPs: Launch iOS-first if your target users skew professional or affluent. Otherwise, use Flutter for cross-platform coverage.
Backend Decision
Firebase: Fastest to set up. Authentication, database, storage, and hosting in one package. Excellent for MVPs. May need replacing at scale.
Custom backend (Node.js/Express, Django, Rails): More control, more effort. Choose this if you have complex backend logic or specific database requirements.
Backend-as-a-Service (AWS Amplify, Supabase): Middle ground. More flexibility than Firebase with less work than a custom backend.
Our recommendation: Firebase for most MVPs. Migrate to a custom backend if you outgrow it.
Design Tools
Figma: The standard for mobile UI design. Free for individuals. Enables collaboration with developers.
Sketch: Mac-only alternative. Strong but losing ground to Figma.
Adobe XD: Another solid option. Free starter plan available.
Phase 4: Design
Design Process for MVPs
You do not need pixel-perfect designs for an MVP. You need enough design clarity to build efficiently and test with users.
Week 1: User flows. Map the primary user journey as a flowchart. Every screen, every decision point, every edge case.
Week 2: Wireframes. Low-fidelity layouts for each screen. Focus on information hierarchy and flow, not visual design.
Week 3: Visual design. Apply your brand’s visual language to the wireframes. Design the key screens in full fidelity. Use a design system (Material Design or iOS HIG) as your foundation to save time.
Design System Shortcut
For MVPs, leverage existing design systems rather than creating custom components:
- iOS: Use standard UIKit or SwiftUI components. They are well-designed and free.
- Android: Material Design components provide a polished, consistent look.
- Flutter: Material and Cupertino widgets give you platform-appropriate defaults.
Custom visual design can come later, once you have validated the product.
Phase 5: Build
Development Timeline
A well-scoped MVP typically takes 6 to 12 weeks to build:
- Weeks 1 to 2: Project setup, architecture, authentication, navigation
- Weeks 3 to 6: Core feature development
- Weeks 7 to 8: Polish, error handling, edge cases
- Weeks 9 to 10: Testing and bug fixing
- Weeks 11 to 12: App Store preparation and submission
Development Best Practices for MVPs
Start with the hardest feature. Tackle the technically riskiest part first. If it turns out to be infeasible, you want to know in week 2, not week 10.
Build the happy path first. Get the core flow working before handling every edge case. You can add error handling and edge case support iteratively.
Use analytics from day one. Integrate Firebase Analytics or a similar tool before building features. You need data to make post-launch decisions.
Implement crash reporting. Integrate Crashlytics or Sentry. You need to know when things break in production.
Write tests for business logic. You do not need 100 percent test coverage in an MVP, but unit tests for core business logic prevent regressions as you iterate.
Common MVP Development Mistakes
- Over-engineering. You do not need microservices, CI/CD pipelines, or a custom design system for an MVP. Keep it simple.
- Premature optimisation. Make it work, then make it right, then make it fast. For an MVP, “works” is sufficient.
- Feature creep. New ideas will come up during development. Write them down for later. Do not add them to the current scope.
- Skipping user testing. Test with real users during development, not just at the end.
- Perfectionism. An MVP that ships is infinitely more valuable than a perfect app that never launches.
Phase 6: Test with Real Users
Beta Testing
Before public launch, get your app into real users’ hands:
iOS TestFlight: Distribute to up to 10,000 beta testers. External testers require a lightweight Apple review (usually approved within 24 hours).
Android closed testing: Distribute through the Google Play Console. Users install from the Play Store but the app is not publicly listed.
What to Test
- Can users complete the core workflow without guidance? Watch them try. Do not help unless they are completely stuck.
- Is the value proposition clear? After 5 minutes, can they explain what the app does?
- What do they try to do that the app does not support? These observations inform your post-launch roadmap.
- Are there any crashes or critical bugs? Fix these before launch.
Feedback Collection
- In-app feedback: Add a simple feedback mechanism (a button that sends an email or opens a form).
- User interviews: Talk to 5 to 10 beta testers individually. Ask open-ended questions.
- Analytics: Monitor which features are used and where users drop off.
Phase 7: Launch
App Store Preparation
Prepare your App Store and Google Play listings:
- App name and subtitle: Include a key search term
- Description: Lead with benefits. Include social proof if you have it.
- Screenshots: Show the app in action. Use text overlays to explain each screen.
- Keywords (iOS): Research competitor keywords. Target specific, achievable terms.
Launch Strategy
Soft launch: Release to a limited market (e.g., Australia only) before a broader rollout. This lets you find and fix issues with lower risk.
Launch checklist:
- App Store listing complete and reviewed
- Analytics and crash reporting verified
- Server infrastructure tested under load
- Support email and FAQ page set up
- Social media announcement prepared
- App Store and Google Play promotional assets ready
Day One Priorities
- Monitor crash reports in real time
- Respond to user feedback quickly
- Watch analytics for unexpected patterns
- Fix critical bugs immediately (have a developer on standby)
Phase 8: Iterate
The MVP is not the destination. It is the starting point. Post-launch, you enter a build-measure-learn cycle:
- Measure: What are users doing? What are retention and engagement numbers?
- Learn: What does the data tell you? Which features drive retention? Where do users struggle?
- Build: Add features and improvements based on evidence, not assumptions.
When to Pivot
If after 4 to 8 weeks of post-launch iteration you see:
- Day 1 retention consistently under 15 percent
- Users do not complete the core workflow
- Feedback consistently requests a different product
It may be time to reconsider your approach. A pivot is not failure; it is learning.
Budget Expectations for Australian Startups
Realistic budget ranges for an MVP in Australia (2021):
- Solo developer (your own time): AUD 0 to 5,000 (tools and services only)
- Freelance developer: AUD 15,000 to 40,000
- Development agency (like eawesome): AUD 25,000 to 80,000
- VC-backed with full team: AUD 50,000 to 150,000
The wide ranges reflect scope variation. A simple single-platform app with Firebase backend sits at the low end. A cross-platform app with custom backend and complex features sits at the high end.
Final Advice
Ship fast, learn fast, iterate fast. The app you launch will not be the app you end up with. The purpose of an MVP is to start the conversation with real users as quickly as possible. Everything after that is informed by evidence rather than assumptions.
At eawesome, we specialise in helping Australian startups go from idea to launched MVP. Our process is designed to maximise learning while minimising time and cost, because in the startup world, speed of learning is the ultimate competitive advantage.
A dedicated website amplifies your app’s reach. Cosmos Web Tech builds SEO-optimised sites that turn Google searches into app installs.
Part of the Ganda Tech Services family, Awesome Apps delivers specialist mobile app development for Australian small and medium businesses.
Talk to a Sydney app developer — free.
30 minutes. We'll tell you what your app needs, how long it takes, and what it costs. Real answers, no sales pitch.
Book Free App Strategy Call →Free · 30 minutes · No obligation