Introduction
Document scanning used to require dedicated hardware. Now it happens in everyone’s pocket. Apps like Adobe Scan, Microsoft Lens, and Genius Scan have trained users to expect instant digitisation of receipts, business cards, and documents.
If you’re building an app that handles physical documents—expense tracking, identity verification, contact management—you need document scanning. Here’s how the technology works and how to implement it.
The Document Scanning Pipeline
A good document scanner does four things:
- Capture — Get a clear image of the document
- Detect — Find the document edges in the image
- Transform — Correct perspective and enhance quality
- Recognise — Extract text using OCR
Let’s break down each step.
Step 1: Camera
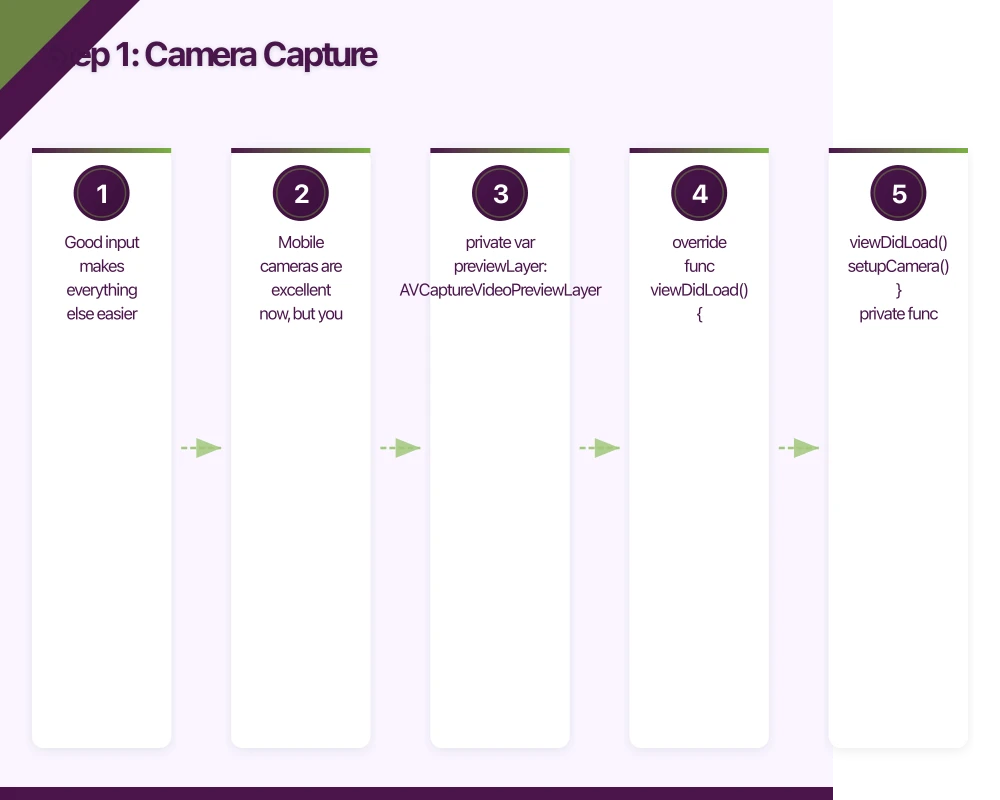 Capture
Good input makes everything else easier. Mobile cameras are excellent now, but you still need to guide users.
Camera Configuration (iOS)
import AVFoundation

class DocumentCameraViewController: UIViewController {

    private var captureSession: AVCaptureSession!
    private var previewLayer: AVCaptureVideoPreviewLayer!

    override func viewDidLoad() {
        super.viewDidLoad()
        setupCamera()
    }

    private func setupCamera() {
        captureSession = AVCaptureSession()
        captureSession.sessionPreset = .photo

        guard let camera = AVCaptureDevice.default(
            .builtInWideAngleCamera,
            for: .video,
            position: .back
        ) else { return }

        do {
            // Configure for document scanning
            try camera.lockForConfiguration()

            // Enable auto focus
            if camera.isFocusModeSupported(.continuousAutoFocus) {
                camera.focusMode = .continuousAutoFocus
            }

            // Enable auto exposure
            if camera.isExposureModeSupported(.continuousAutoExposure) {
                camera.exposureMode = .continuousAutoExposure
            }

            // Optimise for documents (high contrast)
            if camera.isLowLightBoostSupported {
                camera.automaticallyEnablesLowLightBoostWhenAvailable = true
            }

            camera.unlockForConfiguration()

            let input = try AVCaptureDeviceInput(device: camera)
            captureSession.addInput(input)

            // Add photo output
            let photoOutput = AVCapturePhotoOutput()
            photoOutput.isHighResolutionCaptureEnabled = true
            captureSession.addOutput(photoOutput)

            // Setup preview
            previewLayer = AVCaptureVideoPreviewLayer(session: captureSession)
            previewLayer.videoGravity = .resizeAspectFill
            previewLayer.frame = view.bounds
            view.layer.addSublayer(previewLayer)

            // Start on background thread
            DispatchQueue.global(qos: .userInitiated).async {
                self.captureSession.startRunning()
            }

        } catch {
            print("Camera setup failed: \(error)")
        }
    }
}
Use VisionKit’s Built-in Scanner (iOS 13+)
Apple provides a complete document scanner in VisionKit:
import VisionKit

class DocumentScannerViewController: UIViewController, VNDocumentCameraViewControllerDelegate {

    func startScanning() {
        guard VNDocumentCameraViewController.isSupported else {
            showError("Document scanning not supported on this device")
            return
        }

        let scanner = VNDocumentCameraViewController()
        scanner.delegate = self
        present(scanner, animated: true)
    }

    func documentCameraViewController(
        _ controller: VNDocumentCameraViewController,
        didFinishWith scan: VNDocumentCameraScan
    ) {
        controller.dismiss(animated: true)

        // Process each scanned page
        for pageIndex in 0..<scan.pageCount {
            let image = scan.imageOfPage(at: pageIndex)
            processScannedImage(image)
        }
    }

    func documentCameraViewControllerDidCancel(_ controller: VNDocumentCameraViewController) {
        controller.dismiss(animated: true)
    }

    func documentCameraViewController(
        _ controller: VNDocumentCameraViewController,
        didFailWithError error: Error
    ) {
        controller.dismiss(animated: true)
        showError(error.localizedDescription)
    }
}
Android Camera with CameraX
import androidx.camera.core.*
import androidx.camera.lifecycle.ProcessCameraProvider

class DocumentCameraFragment : Fragment() {

    private lateinit var imageCapture: ImageCapture

    override fun onViewCreated(view: View, savedInstanceState: Bundle?) {
        super.onViewCreated(view, savedInstanceState)
        startCamera()
    }

    private fun startCamera() {
        val cameraProviderFuture = ProcessCameraProvider.getInstance(requireContext())

        cameraProviderFuture.addListener({
            val cameraProvider = cameraProviderFuture.get()

            val preview = Preview.Builder()
                .build()
                .also {
                    it.setSurfaceProvider(binding.previewView.surfaceProvider)
                }

            imageCapture = ImageCapture.Builder()
                .setCaptureMode(ImageCapture.CAPTURE_MODE_MAXIMIZE_QUALITY)
                .setTargetResolution(Size(4032, 3024)) // High res for OCR
                .build()

            val cameraSelector = CameraSelector.DEFAULT_BACK_CAMERA

            try {
                cameraProvider.unbindAll()
                cameraProvider.bindToLifecycle(
                    viewLifecycleOwner,
                    cameraSelector,
                    preview,
                    imageCapture
                )
            } catch (e: Exception) {
                Log.e("DocumentCamera", "Camera bind failed", e)
            }

        }, ContextCompat.getMainExecutor(requireContext()))
    }

    private fun captureDocument() {
        val outputFile = File(requireContext().cacheDir, "scan_${System.currentTimeMillis()}.jpg")
        val outputOptions = ImageCapture.OutputFileOptions.Builder(outputFile).build()

        imageCapture.takePicture(
            outputOptions,
            ContextCompat.getMainExecutor(requireContext()),
            object : ImageCapture.OnImageSavedCallback {
                override fun onImageSaved(output: ImageCapture.OutputFileResults) {
                    processImage(outputFile)
                }

                override fun onError(exception: ImageCaptureException) {
                    showError("Capture failed: ${exception.message}")
                }
            }
        )
    }
}
Step 2: Document Edge D
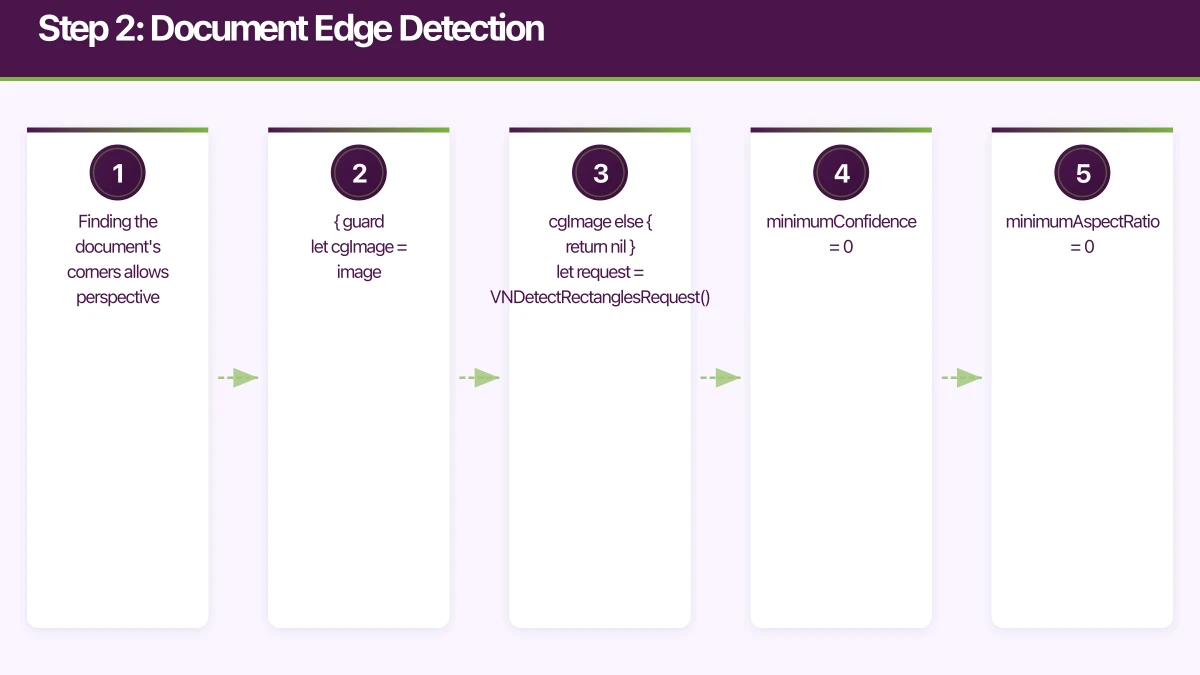 etection
Finding the document’s corners allows perspective correction.
Using Vision Framework (iOS)
import Vision

class DocumentDetector {

    func detectDocument(in image: UIImage) async throws -> VNRectangleObservation? {
        guard let cgImage = image.cgImage else { return nil }

        let request = VNDetectRectanglesRequest()
        request.minimumConfidence = 0.8
        request.minimumAspectRatio = 0.3
        request.maximumAspectRatio = 1.0
        request.minimumSize = 0.2
        request.maximumObservations = 1

        let handler = VNImageRequestHandler(cgImage: cgImage, options: [:])
        try handler.perform([request])

        return request.results?.first
    }

    func drawDetectedBounds(observation: VNRectangleObservation, on imageView: UIImageView) {
        let transform = CGAffineTransform(scaleX: 1, y: -1)
            .translatedBy(x: 0, y: -imageView.bounds.height)

        let path = UIBezierPath()
        let topLeft = observation.topLeft.applying(transform)
        let topRight = observation.topRight.applying(transform)
        let bottomLeft = observation.bottomLeft.applying(transform)
        let bottomRight = observation.bottomRight.applying(transform)

        path.move(to: CGPoint(
            x: topLeft.x * imageView.bounds.width,
            y: topLeft.y * imageView.bounds.height
        ))
        path.addLine(to: CGPoint(
            x: topRight.x * imageView.bounds.width,
            y: topRight.y * imageView.bounds.height
        ))
        path.addLine(to: CGPoint(
            x: bottomRight.x * imageView.bounds.width,
            y: bottomRight.y * imageView.bounds.height
        ))
        path.addLine(to: CGPoint(
            x: bottomLeft.x * imageView.bounds.width,
            y: bottomLeft.y * imageView.bounds.height
        ))
        path.close()

        let shapeLayer = CAShapeLayer()
        shapeLayer.path = path.cgPath
        shapeLayer.strokeColor = UIColor.systemBlue.cgColor
        shapeLayer.fillColor = UIColor.systemBlue.withAlphaComponent(0.2).cgColor
        shapeLayer.lineWidth = 2

        imageView.layer.addSublayer(shapeLayer)
    }
}
Using ML Kit (Android)
import com.google.mlkit.vision.common.InputImage
import com.google.mlkit.vision.objects.ObjectDetection
import com.google.mlkit.vision.objects.defaults.ObjectDetectorOptions

// ML Kit doesn't have specific document detection, so we use contour detection
// with OpenCV for better results

import org.opencv.core.*
import org.opencv.imgproc.Imgproc

class DocumentDetector {

    fun detectDocumentCorners(bitmap: Bitmap): List<Point>? {
        val mat = Mat()
        Utils.bitmapToMat(bitmap, mat)

        // Convert to grayscale
        val gray = Mat()
        Imgproc.cvtColor(mat, gray, Imgproc.COLOR_BGR2GRAY)

        // Apply Gaussian blur
        Imgproc.GaussianBlur(gray, gray, Size(5.0, 5.0), 0.0)

        // Edge detection
        val edges = Mat()
        Imgproc.Canny(gray, edges, 75.0, 200.0)

        // Find contours
        val contours = mutableListOf<MatOfPoint>()
        val hierarchy = Mat()
        Imgproc.findContours(edges, contours, hierarchy, Imgproc.RETR_LIST, Imgproc.CHAIN_APPROX_SIMPLE)

        // Find largest quadrilateral
        var largestQuad: MatOfPoint2f? = null
        var maxArea = 0.0

        for (contour in contours) {
            val contour2f = MatOfPoint2f(*contour.toArray())
            val perimeter = Imgproc.arcLength(contour2f, true)
            val approx = MatOfPoint2f()
            Imgproc.approxPolyDP(contour2f, approx, 0.02 * perimeter, true)

            if (approx.rows() == 4) {
                val area = Imgproc.contourArea(approx)
                if (area > maxArea) {
                    maxArea = area
                    largestQuad = approx
                }
            }
        }

        return largestQuad?.toList()
    }
}
Step 3: Perspective Correction
Once you have the corners, transform the image to a top-down view.
iOS Perspective Transform
import CoreImage

class PerspectiveCorrector {

    func correctPerspective(
        image: UIImage,
        corners: VNRectangleObservation
    ) -> UIImage? {
        guard let ciImage = CIImage(image: image) else { return nil }

        let imageSize = ciImage.extent.size

        // Convert normalized coordinates to image coordinates
        let topLeft = CGPoint(
            x: corners.topLeft.x * imageSize.width,
            y: corners.topLeft.y * imageSize.height
        )
        let topRight = CGPoint(
            x: corners.topRight.x * imageSize.width,
            y: corners.topRight.y * imageSize.height
        )
        let bottomLeft = CGPoint(
            x: corners.bottomLeft.x * imageSize.width,
            y: corners.bottomLeft.y * imageSize.height
        )
        let bottomRight = CGPoint(
            x: corners.bottomRight.x * imageSize.width,
            y: corners.bottomRight.y * imageSize.height
        )

        let corrected = ciImage
            .applyingFilter("CIPerspectiveCorrection", parameters: [
                "inputTopLeft": CIVector(cgPoint: topLeft),
                "inputTopRight": CIVector(cgPoint: topRight),
                "inputBottomLeft": CIVector(cgPoint: bottomLeft),
                "inputBottomRight": CIVector(cgPoint: bottomRight),
            ])

        let context = CIContext()
        guard let cgImage = context.createCGImage(corrected, from: corrected.extent) else {
            return nil
        }

        return UIImage(cgImage: cgImage)
    }

    func enhanceDocument(image: UIImage) -> UIImage? {
        guard let ciImage = CIImage(image: image) else { return nil }

        let enhanced = ciImage
            .applyingFilter("CIColorControls", parameters: [
                kCIInputContrastKey: 1.2,
                kCIInputBrightnessKey: 0.05,
            ])
            .applyingFilter("CISharpenLuminance", parameters: [
                kCIInputSharpnessKey: 0.5,
            ])

        let context = CIContext()
        guard let cgImage = context.createCGImage(enhanced, from: enhanced.extent) else {
            return nil
        }

        return UIImage(cgImage: cgImage)
    }
}
Step 4: OCR Text Recognition
Now for the main event: extracting text from the image.
iOS with Vision Framework
import Vision

class TextRecognizer {

    func recognizeText(in image: UIImage) async throws -> [RecognizedTextBlock] {
        guard let cgImage = image.cgImage else {
            throw OCRError.invalidImage
        }

        let request = VNRecognizeTextRequest()
        request.recognitionLevel = .accurate
        request.recognitionLanguages = ["en-AU", "en-US"]
        request.usesLanguageCorrection = true

        let handler = VNImageRequestHandler(cgImage: cgImage, options: [:])
        try handler.perform([request])

        guard let observations = request.results else {
            return []
        }

        return observations.compactMap { observation in
            guard let candidate = observation.topCandidates(1).first else {
                return nil
            }

            return RecognizedTextBlock(
                text: candidate.string,
                confidence: candidate.confidence,
                boundingBox: observation.boundingBox
            )
        }
    }

    // For specific field extraction (e.g., receipt parsing)
    func extractFields(from blocks: [RecognizedTextBlock]) -> DocumentFields {
        var fields = DocumentFields()

        // Find total amount pattern
        let amountPattern = /\$[\d,]+\.\d{2}/
        for block in blocks {
            if let match = block.text.firstMatch(of: amountPattern) {
                // Check if preceded by "Total" or similar
                let lowerText = block.text.lowercased()
                if lowerText.contains("total") || lowerText.contains("amount") {
                    fields.total = String(match.output)
                }
            }
        }

        // Find date pattern
        let datePattern = /\d{1,2}[\/\-]\d{1,2}[\/\-]\d{2,4}/
        for block in blocks {
            if let match = block.text.firstMatch(of: datePattern) {
                fields.date = String(match.output)
                break
            }
        }

        return fields
    }
}

struct RecognizedTextBlock {
    let text: String
    let confidence: Float
    let boundingBox: CGRect
}

struct DocumentFields {
    var total: String?
    var date: String?
    var vendor: String?
}
Android with ML Kit
import com.google.mlkit.vision.common.InputImage
import com.google.mlkit.vision.text.TextRecognition
import com.google.mlkit.vision.text.latin.TextRecognizerOptions
import kotlinx.coroutines.tasks.await

class TextRecognizer {

    private val recognizer = TextRecognition.getClient(TextRecognizerOptions.Builder().build())

    suspend fun recognizeText(bitmap: Bitmap): RecognitionResult {
        val image = InputImage.fromBitmap(bitmap, 0)
        val result = recognizer.process(image).await()

        val blocks = result.textBlocks.map { block ->
            RecognizedBlock(
                text = block.text,
                confidence = block.lines.firstOrNull()?.confidence ?: 0f,
                boundingBox = block.boundingBox
            )
        }

        return RecognitionResult(
            fullText = result.text,
            blocks = blocks
        )
    }

    suspend fun extractReceiptData(bitmap: Bitmap): ReceiptData {
        val result = recognizeText(bitmap)
        val data = ReceiptData()

        // Parse total
        val totalRegex = """\$[\d,]+\.\d{2}""".toRegex()
        for (block in result.blocks) {
            val text = block.text.lowercase()
            if (text.contains("total") || text.contains("amount due")) {
                totalRegex.find(block.text)?.let {
                    data.total = it.value
                }
            }
        }

        // Parse date
        val dateRegex = """\d{1,2}[/\-]\d{1,2}[/\-]\d{2,4}""".toRegex()
        result.fullText?.let { text ->
            dateRegex.find(text)?.let {
                data.date = it.value
            }
        }

        return data
    }
}

data class RecognizedBlock(
    val text: String,
    val confidence: Float,
    val boundingBox: Rect?
)

data class RecognitionResult(
    val fullText: String?,
    val blocks: List<RecognizedBlock>
)

data class ReceiptData(
    var total: String? = null,
    var date: String? = null,
    var merchant: String? = null
)
Handling Different Document Types
Business Cards
func parseBusinessCard(text: String) -> BusinessCardInfo {
    var info = BusinessCardInfo()

    // Email extraction
    let emailPattern = /[A-Za-z0-9._%+-]+@[A-Za-z0-9.-]+\.[A-Za-z]{2,}/
    if let match = text.firstMatch(of: emailPattern) {
        info.email = String(match.output)
    }

    // Phone number (Australian format)
    let phonePattern = /(?:\+61|0)[2-9]\d{8}|\d{4}\s?\d{3}\s?\d{3}/
    if let match = text.firstMatch(of: phonePattern) {
        info.phone = String(match.output).replacingOccurrences(of: " ", with: "")
    }

    // Website
    let urlPattern = /(?:https?:\/\/)?(?:www\.)?[a-zA-Z0-9-]+\.[a-zA-Z]{2,}(?:\/\S*)?/
    if let match = text.firstMatch(of: urlPattern) {
        info.website = String(match.output)
    }

    return info
}
Identity Documents
For ID verification, use specialized services:
// Backend - using a service like Onfido or IDnow
import { Onfido } from '@onfido/api';

const onfido = new Onfido({
  apiToken: process.env.ONFIDO_API_TOKEN,
  region: 'au', // Australian servers for data residency
});

async function verifyIdentityDocument(
  documentImageBase64: string,
  documentType: 'passport' | 'driving_licence' | 'national_identity_card'
) {
  // Create an applicant
  const applicant = await onfido.applicant.create({
    first_name: 'Pending',
    last_name: 'Verification',
  });

  // Upload the document
  const document = await onfido.document.upload({
    applicant_id: applicant.id,
    file: Buffer.from(documentImageBase64, 'base64'),
    type: documentType,
  });

  // Create a check
  const check = await onfido.check.create({
    applicant_id: applicant.id,
    report_names: ['document'],
  });

  return {
    checkId: check.id,
    status: check.status,
  };
}
Performance Optimisation
Process Images on Background Thread
func processDocument(image: UIImage) async {
    // Heavy operations on background
    let correctedImage = await Task.detached(priority: .userInitiated) {
        let detector = DocumentDetector()
        guard let corners = try? await detector.detectDocument(in: image) else {
            return image
        }

        let corrector = PerspectiveCorrector()
        return corrector.correctPerspective(image: image, corners: corners) ?? image
    }.value

    // OCR on background
    let text = await Task.detached(priority: .userInitiated) {
        let recognizer = TextRecognizer()
        return try? await recognizer.recognizeText(in: correctedImage)
    }.value

    // Update UI on main thread
    await MainActor.run {
        displayResults(image: correctedImage, text: text)
    }
}
Reduce Image Size for OCR
func resizeForOCR(image: UIImage, maxDimension: CGFloat = 2048) -> UIImage {
    let scale = min(maxDimension / image.size.width, maxDimension / image.size.height)

    if scale >= 1 { return image }

    let newSize = CGSize(
        width: image.size.width * scale,
        height: image.size.height * scale
    )

    UIGraphicsBeginImageContextWithOptions(newSize, false, 1.0)
    image.draw(in: CGRect(origin: .zero, size: newSize))
    let resized = UIGraphicsGetImageFromCurrentImageContext()
    UIGraphicsEndImageContext()

    return resized ?? image
}
Conclusion
Mobile document scanning combines computer vision and machine learning in a way that feels like magic to users. The key components are:
- Good image capture — guide users to steady, well-lit shots
- Edge detection — find the document in the frame
- Perspective correction — transform to a clean top-down view
- OCR — extract the text you need
For most apps, Apple’s VisionKit (iOS) and Google’s ML Kit (Android) provide excellent results with minimal code. Add specialized parsing for your document types, and you’ve got a feature that genuinely improves user workflows.
Start with the platform-provided tools. They handle the edge cases (literally) that would take months to solve yourself. Customise the OCR output parsing for your specific use case, and you’ll have a document scanning feature that users actually want to use.
Need to set up CI/CD pipelines for your app builds? Cloud Geeks provides DevOps and cloud infrastructure services for development teams.
Ganda Tech Services brings together cloud infrastructure, web development, and mobile app expertise to help Australian businesses thrive in the digital economy.
Talk to a Sydney app developer — free.
30 minutes. We'll tell you what your app needs, how long it takes, and what it costs. Real answers, no sales pitch.
Book Free App Strategy Call →Free · 30 minutes · No obligation